WooCommerce Tutorial: How to Set Up eCommerce on WordPress
WooCommerce is the most popular WordPress plugin for creating a full-fledged online store. It offers a wide range of eCommerce features for handling sales, inventory management, and customer data.
If you’re thinking about using WooCommerce to start your online business, you’ve come to the right place. Whether you’re new to WordPress or are an experienced user, our beginner-friendly guide will get your online store up and running in no time.
First, let’s talk about why many eCommerce businesses use WooCommerce.
Why Choose WooCommerce?
Over 5 million WordPress users have installed WooCommerce to create their own eCommerce store. Here’s why:
- Built for WordPress ‒ the plugin works well with WordPress’ native features, simplifying store management from the WordPress dashboard.
- Affordable ‒ reduce startup costs by creating your WooCommerce store with free features.
- Highly scalable ‒ various free and paid extensions and themes cater to all business needs at different scales.
- Versatile ‒ WooCommerce supports all product types, including digital products, like subscriptions and services.
- Built-in security ‒ WooCommerce secures transactions by storing credit card details on the payment processor’s servers, not on your site’s database. It also releases updates regularly and develops extensions for additional security features.
- Full support ‒ the WooCommerce support team is accessible through chat and ticket system 24/7, minimizing potential downtime. It also has an extensive library of guides and a knowledge base to help users look after their stores themselves.
How to Set Up a WooCommerce Store
This section will walk you through the steps to turn your WordPress site into a professional eCommerce store using WooCommerce.
1. Install and Activate WooCommerce Plugin
There are two ways to install WooCommerce ‒ with Hostinger’s one-click setup or using the WooCommerce plugin. We’ll cover both methods, starting with the easiest.
Hostinger’s WooCommerce Onboarding Flow
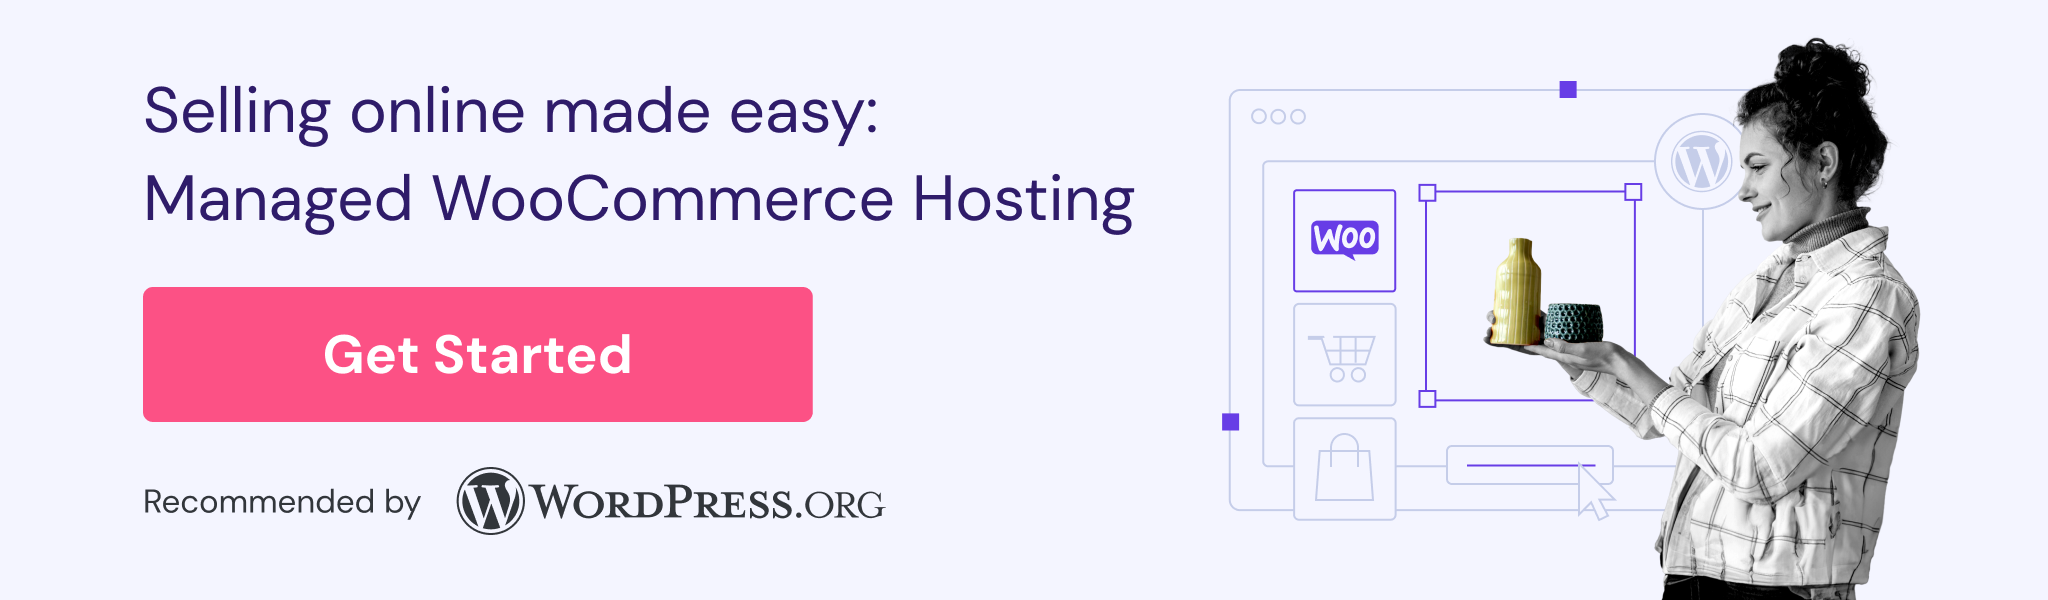
As WordPress.org’s recommended web host, Hostinger designs WooCommerce hosting plans for business owners looking to set up their online store quickly.
Starting at ₱169.00/month, all plans include a one-click WooCommerce setup, as well as a free domain, SSL for encrypted transactions, and a content delivery network (CDN) for faster website performance.
After purchasing our hosting service, follow these steps to set up WooCommerce:
- In the setup wizard, choose to create a new website and enter login details for your WordPress account.
- Pick online store as your website type.
- For your website’s visual, choose pre-built templates for easy customization and quick launch. Alternatively, go with standard themes if you want to design pages and content yourself.

- Choose an online store template that matches your brand. You can hover over one and select Preview to see how it looks.

- Opt for pre-selected plugins for your online store, like WooCommerce.

- Use our AI content generator to fill your website with unique content for faster store setup. Skip this step if you plan to do it yourself later.

- Claim a free domain name with any annual hosting plan purchase, or use a temporary domain until you register a new one.
- Choose a data server closest to your target audience for optimal website performance.
- After the WordPress and WooCommerce installation is complete, you’ll be redirected to the hPanel dashboard. Select Admin Panel to enter your WordPress dashboard.

- Select Set up my online store → Setup store to streamline the process with the Hostinger WordPress plugin.

- Answer a series of questions from WooCommerce to personalize store settings, such as the store’s location and the type of products or services you plan to sell.
- WooCommerce will offer free features to install. We recommend to skip this step to keep your store lightweight.
- That’s it. You can now fill the WooCommerce store with products.
Using the WooCommerce Plugin
This method works for any hosting provider that supports WordPress. However, unlike Hostinger’s WooCommerce onboarding flow, you need to install the theme as well as the supporting plugins and then create web content separately.
Here’s how to install the WooCommerce plugin:
- After installing and configuring WordPress, navigate to the admin dashboard.
- Open the Plugins tab on the left sidebar and select Add New Plugin.
- Enter “woocommerce” into the search bar to locate the eCommerce plugin and hit Install Now → Activate.

- Go to the WooCommerce tab and complete the guided setup wizard by filling in your store details.
Did You Know?
Hostinger Business and cloud hosting plans include an AI-powered WordPress onboarding flow for faster website launch.
2. Add New Products
Adding new products to your online store is as easy as making a new blog post. Here’s how:
- Head to Products → Add New from your WordPress dashboard.
- Enter the product’s name and detailed description.

- If you install pre-selected plugins through Hostinger’s WooCommerce onboarding flow, you’ll see AIOSEO Settings below it. In this section, you can preview the product listing in Google search results, customize its meta description, and add focus keyphrases to improve your online store’s SEO rankings.

- Scroll down to Product data and select the product type:
- Simple product ‒ covers items shipped individually without additional options, such as a physical book. Tick the Virtual box if you plan to sell digital products and the Downloadable box to enable post-purchase downloads.
- Grouped product ‒ a collection of simple physical products, like a set of dinnerware.
- External or affiliate product ‒ include items promoted on your online store but sold elsewhere.
- Variable product ‒ applies to items with varying qualities, like sizes and colors.
Remember to include essential information like the price, stock status, and attributes based on the product type.

- In the Product short description section, briefly explain the product. WooCommerce displays this text at the top of the product page. Check out our product description writing guide for tips.
- Upload the product image and assign the appropriate categories and tags on the right sidebar. Check out our guide on taking product photos to boost conversions.
- Check the product preview and hit Publish once you’re happy with how the page looks. Here’s an example:

You can manage all the product listings in Products → All products. Hover over individual products to edit, delete, or duplicate them.

3. Set Up Payment Methods
Integrating the right payment method is crucial as it influences conversion rates, builds brand credibility, and improves user experience. Choose only reputable payment gateways that match your target audience’s preferences to minimize cart abandonment rates.
Although there are quite a few WooCommerce payment gateways to choose from, WooPayments is one of the best options.
This in-house payment gateway accepts debit and credit card payments as well as local payment methods in over 135 currencies. It also supports other payment options, like Google Pay, Apple Pay, and buy now, pay later (BNPL) services in certain regions ‒ perfect for international sales.
Here’s how to set up WooPayments on your WooCommerce shop:
- Head to WooCommerce → Settings from the WordPress dashboard.
- Open the Payments tab for all the available payment processors. Click Install to activate WooPayments.

- Start the WooPayments setup wizard by clicking Connect your store.

- Enter your active email address and click the link sent to your inbox to verify the connection.
- State your business location, legal entity type, and the type of products or services it sells.

- Share your estimated annual eCommerce revenue and the timeline for launching your eCommerce store.

- Complete the setup wizard to link WooPayments with your bank account or debit card. Your online store can start accepting payments once the Payments status turns to Enabled.

4. Configure Tax Rates
Tax calculations can be tricky, especially for business owners without accounting expertise. Luckily, WooCommerce can automatically display tax-inclusive prices on product and checkout pages.
Here’s how to configure WooCommerce tax settings:
- Go to WooCommerce → Settings → General from the WordPress dashboard.
- Tick the Enable tax rates and calculations box and hit Save changes.

- The Tax tab will appear in Settings after the feature is activated. Click on it and configure the tax options as follows:
- Prices entered with tax ‒ decide if product prices are tax-inclusive or not.
- Calculate tax based on ‒ use the customer’s shipping address, billing address, or your store’s location for tax calculation.
- Shipping tax class ‒ base it on cart items or use the standard rate tax class.
- Display prices in the shop and during cart and checkout ‒ ensure both settings align with the first option to prevent errors.
- Price display suffix ‒ define the text next to product prices. Use {price_including_tax} or {price_excluding_tax} placeholders to adjust the pricing accordingly.
- Display tax totals ‒ shows multiple taxes as one total or as an itemized list.

- Click Save changes once you’re done.
- Enter applicable tax classes manually into Standard rates, Reduced rate rates, and Zero rate rates subtabs. Click Insert row to input a new entry or import multiple tax classes in bulk using the Import CSV feature.

Here’s an example of a WooCommerce shop page with tax-inclusive pricing:

5. Set Up Shipping Options
If you sell physical products, the next step is to set up shipping details.
Shipping Zones
Shipping zones let you determine shipping costs and methods for different areas. WooCommerce assigns shipping zones based on the first criterion the customer matches, allowing you to create multiple zones without overlap.
Here’s how to create a shipping zone:
- Navigate to WooCommerce → Settings from the WordPress dashboard.
- Click on the Shipping tab and select Add zone.

- Fill in the zone name and check the regions you want to include in the shipping zone.
- Hit Add shipping method and select the appropriate shipping method for that specific zone.

- Once you’re done, hit Save changes.
Shipping Class
Stores with different product groups can customize shipping rates for each category by setting shipping classes. Here’s how to set them up:
- Open the Classes subtab and click Add shipping class.

- Determine the shipping class’ name, slug or unique identifier, and description. Hit Create.

- To assign a shipping class to a product, go to Products → All Products and edit a product listing you want to customize.
- Scroll down to Product data and open the Shipping tab. Assign the appropriate shipping class from the drop-down field.

- Hit Update to save the change.
- To bulk-assign a shipping class, return to All Products and check all the products you want to assign. Pick Edit from the Bulk actions drop-down field and hit Apply.

- In the Bulk Edit page, assign a shipping class from the drop-down field. Hit Update to save the change.

Customize Shipping settings to show the shipping calculator on the cart page, hide rates until customers enter their address, and set a new default shipping destination.

6. Customize Your Store
Now that your online store’s basic setup is complete, let’s enhance its design and add features for better performance.
Themes
Like other WordPress sites, changing your WooCommerce store design involves installing a theme. You have a ton of options available in WooCommerce Marketplace, WordPress theme directory, and third-party marketplaces, like ThemeForest and Envanto.
Follow these steps to change your WordPress theme:
- Head to Appearance → Themes and select Add New Theme.
- Search “woocommerce” to filter the available options and preview themes to see whether they match your brand. Install the right theme for your WooCommerce store.

- Click Activate to start using the new theme.
Check out our top WooCommerce themes for reliable options, including:
- Astra ‒ a lightweight theme with various customization options for all website types, including eCommerce.
- Zigcy ‒ a freemium theme with built-in WooCommerce integration for clothing, electronics, jewelry, and furniture stores.
- Woostify ‒ offers pre-built page layouts and a video gallery for previewing promotional videos.
- WooCommerce Storefront ‒ designed by WooCommerce for use with its extensions.
Customize your theme easily using the WordPress theme editor or a page builder plugin. Many WordPress page builders offer a drag-and-drop interface and pre-made templates, eliminating the need to code.
Plugins and Extensions
WooCommerce Marketplace offers in-house extensions at different prices to extend your online store’s functionality. You can also find free and premium plugins on the WordPress plugin directory and plugin marketplaces like CodeCanyon.
Here’s an easy way to install a WordPress plugin from the official plugin directory:
- Navigate to Plugins → Add New Plugin.
- Use the search bar or filter by category to find the plugin you need. Click Install Now.

As installing too many WordPress plugins can increase security risks and slow down your website, only use the ones you absolutely need.
Here are some of the best WooCommerce plugins for eCommerce:
- OptinMonster ‒ offers a drag-and-drop pop-up maker for creating custom pop-ups to boost conversions.
- All In One SEO (AIOSEO) ‒ analyzes and provides actionable insights to improve WooCommerce SEO.
- WPForms ‒ simplifies form creation with pre-built templates and a drag-and-drop builder.
- HUSKY Products Filter ‒ allows customers to filter products by different attributes, including price and categories.
7. Manage Your WordPress Store
The final step in launching your eCommerce website is learning how to manage orders, customers, analytics, coupons, and system status.
Customers
Head to WooCommerce → Customers to gain buyer insights, including their total spend and average order value (AOV). Activate Single Customer View via the drop-down field to access individual customer records, and click Download to export the report.

Orders
Manage all orders placed on your eCommerce store through WooCommerce → Orders. You can update order status and delete multiple entries at once with the bulk action feature. Click an order listing to apply a coupon, issue refunds, or modify details.

Store Analytics
The Analytics section shows key store metrics like sales by date and top-selling products to help decision-making. Set the date range to collect data on store performance within a specific timeline.

Access Analytics submenus, like Products and Revenue, for detailed insights into various aspects of your eCommerce store.
Coupons
Reward loyal customers and encourage repeat purchases with coupons. Create and manage your coupons via Marketing → Coupons.

WooCommerce’s built-in coupon generator lets you assign the value, expiration date, and discount type for each coupon code.
Set minimum and maximum spend and eligible product categories in the Usage restrictions tab. Remember to manage coupon numbers in the Usage limits tab.

System Status
Access WooCommerce → Status → System status to check the system’s settings and current status for identifying and resolving any issues on your WordPress site.

The Tools subtab contains buttons to modify user capabilities and various aspects of the store, such as clearing customer sessions and creating default WooCommerce pages.

The Logs tab stores all events happening on your WooCommerce store. Customize the settings to adjust the log retention period and severity level.

Troubleshooting Common WooCommerce Problems
A well-performing online store helps deliver an excellent user experience and reduces lost sales opportunities. To ensure that for your store, check out these common WordPress issues and learn how to fix them.
Slow Website Performance
Your website’s page load time directly influences user experience and conversion rates. To maximize performance, test website speed regularly and ensure all store pages load in under three seconds.
Apply WooCommerce speed optimization methods to reduce page loading time, such as:
- Switching to a WooCommerce-optimized hosting service.
- Installing a fast WooCommerce theme.
- Removing unused plugins and extensions to save server resources.
- Enabling WordPress caching to avoid reloading the same website data for returning visitors.
Checkout Issues
Cache errors can clear carts before checkout. In that case, try clearing your WordPress cache with a caching plugin like W3 Total Cache.
After installing the caching plugin, head to Performance → Dashboard and select Empty All Caches.

If customers get logged out during checkout, your session timeout setting could be the issue. Customize your online store’s session expiration time without coding using a custom login page customizer like LoginPress.
Access LoginPress → Settings, then enter the new session expiration time.

If you want more flexibility in managing user sessions, consider buying WooCommerce’s Clear Cart and Sessions extension for $4.09/month.
Email Notification Failures
WooCommerce automatically sends email notifications to customers when their order status changes or when they update their account details. It also notifies you when receiving or canceling an order. You can manage these settings through WooCommerce → Settings → Emails.

The problem is that the PHP mail() function WordPress uses for sending emails doesn’t have Simple Mail Transfer Protocol (SMTP) authentication. As a result, recipients’ email clients might flag your messages as spam.
To increase email deliverability, consider configuring WordPress SMTP. Our guide will show you how to do it using the WP Mail SMTP plugin.
Product Display Issues
If your store page doesn’t look quite right after switching to a new WooCommerce theme, there might be a theme conflict. Try reverting back to the old theme to see if it resolves the issue. If so, check for any theme updates you might have missed in Appearance → Themes.

Next, check whether WooCommerce displays the right store page. Go to WooCommerce → Settings → Products to confirm the Shop page links correctly.

Incorrect catalog visibility settings can also cause product display issues. Head to Products → All Products and click edit on the product listing you want to check. In the Publish section, set catalog visibility to Shop and search results or Shop only.

Check out our WordPress image optimization guide to fix image-related issues, like slow loading or incorrect thumbnail sizes.
Update-Related Problems
If the issue occurs after a WordPress update, revert to a backup and test the update in a staging environment to avoid affecting your live website. This solution also works to fix plugin or theme compatibility problems.
Hostinger users can roll back their website to a previous version through Files → Backup on hPanel. All Hostinger WooCommerce hosting plans include daily automated and on-demand backups, removing the hassle of manual backups.

Additionally, Hostinger offers a user-friendly staging tool in WordPress → Staging. Test new plugins, themes, and custom code on a duplicate site before going live to ensure a consistent user experience and minimize downtime risks. Check out our WordPress staging site setup guide for the steps.

Security Concerns
Keeping your WordPress site updated with the latest version, themes, and plugins helps improve your online store’s performance. More importantly, this practice enhances WordPress security, as outdated software can create vulnerabilities for hackers to exploit.
Add another layer of security with a security plugin like Wordfence. Many reputable WordPress security plugins offer features like malware scanning, firewall protection, and brute force attack prevention.
WooCommerce Video Tutorial
Watch our video tutorial on how to create a WordPress eCommerce site with WooCommerce for visual guidance.

Conclusion
WooCommerce is a top choice for creating online stores in WordPress. With its wide range of features and design options, this WordPress plugin can support all business types and users of all skill levels.
Setting up a WooCommerce store is simple, even for beginners. Let’s recap the steps:
- Install and activate WooCommerce.
- Add new products.
- Set up payment methods.
- Configure tax rates.
- Set up shipping methods.
- Customize the store’s functionality and design.
We hope this article will help you use WooCommerce to its full potential. If you have any questions, check out our FAQ section or leave a comment below. Our extensive library of tutorials on WordPress basics is also available for further reference.
How to Use WooCommerce FAQ
This section answers some of the most common questions about WooCommerce.
What Is WooCommerce Used For?
WooCommerce is a free eCommerce plugin that can turn WordPress websites into online stores. It has eCommerce functionality for selling physical and digital products, managing inventory and shipping, as well as processing payments.
Can WooCommerce Handle 5,000 Products?
Yes, WooCommerce can handle 5,000 products and more, as it’s built to scale. However, managing large product catalogs requires a reliable server and optimizations for smooth website performance, so choosing the right hosting provider from the start is crucial. If you’re looking for hosting options, Hostinger tailors its WooCommerce hosting plans for high-performing eCommerce stores with 100,000-400,000 monthly visits.
How Can I Use WooCommerce for Free?
WooCommerce’s core plugin is free, so you can install it on your WordPress website and access basic features without any cost. If you want to enhance your store’s functionality and design, consider buying premium extensions and themes.
How Can I Make WooCommerce Perform Faster?
You can make WooCommerce perform faster by using a WordPress-optimized hosting service, implementing caching solutions, and uninstalling deactivated plugins. Other ways to speed up your WooCommerce website include optimizing images, using a content delivery network (CDN), and updating WordPress core, themes, and plugins regularly.

Jordana is a Senior Content Writer with over 5 years of experience in digital marketing and web development. When she’s not busy with work, she dabbles in creative writing and movie reviewing. Follow her on LinkedIn.

Brian is a Content Writer who knows the ins and outs of digital marketing and eCommerce. Driven by passion and a dose of caffeine, he constantly looks for better ways to tell complex stories in a simple manner. Follow him on LinkedIn.

Comments
August 19 2020
thanks much, extremely awesome
August 25 2020
Very happy to see that helped you, Najeeb! :)
May 24 2021
I need to know how to get rid of woocommerce payment plugin from my website?
May 27 2021
Hi John, You can deactivate or delete your plugin by following this tutorial :)
February 28 2023
How can I set up a Call for Price on WooCommerce?
March 03 2023
Hello! You can use a plugin like Call for Price for WooCommerce.
February 15 2024
With Hostinger, do you allow for customers accounts to be created when they order a product? I know that if you use wordpress.com for hosting it doesnt like you being able to create accounts. If so I will probably be using you guys for hosting
February 20 2024
Hi there! Yes, Hostinger allows the creation of customer accounts during the product ordering process. When purchasing from Hostinger, you can create your account by entering your email address or by using the recommended social login method with your existing Facebook or Google credentials ?