How to Fix DNS_PROBE_FINISHED_BAD_CONFIG Error in Chrome: 11 Ways
When you access a website, a lot of elements work together to load it. If there are any issues with your DNS settings, internet connection, files, or third-party applications, chances are an error may occur.
Whether you’re a website owner or a visitor, running into a problem can be irritating as it might prevent you from viewing the site. If you are using Google Chrome, DNS_PROBE_FINISHED_BAD_CONFIG is one of the errors you may encounter.
In this article, we will discuss what the DNS_PROBE_FINISHED_BAD_CONFIG error is and go over 11 ways to solve it.

| Error code | DNS_PROBE_FINISHED_BAD_CONFIG |
| Error type | Network connection error |
| Error variations | This site can’t be reached This web page is not available Safari can’t find the server |
| Error causes | Misconfiguration in network and DNS settings Third-party apps/extensions Corrupted files Browser cache DNS cache |
What Is the DNS_PROBE_FINISHED_BAD_CONFIG ERROR?
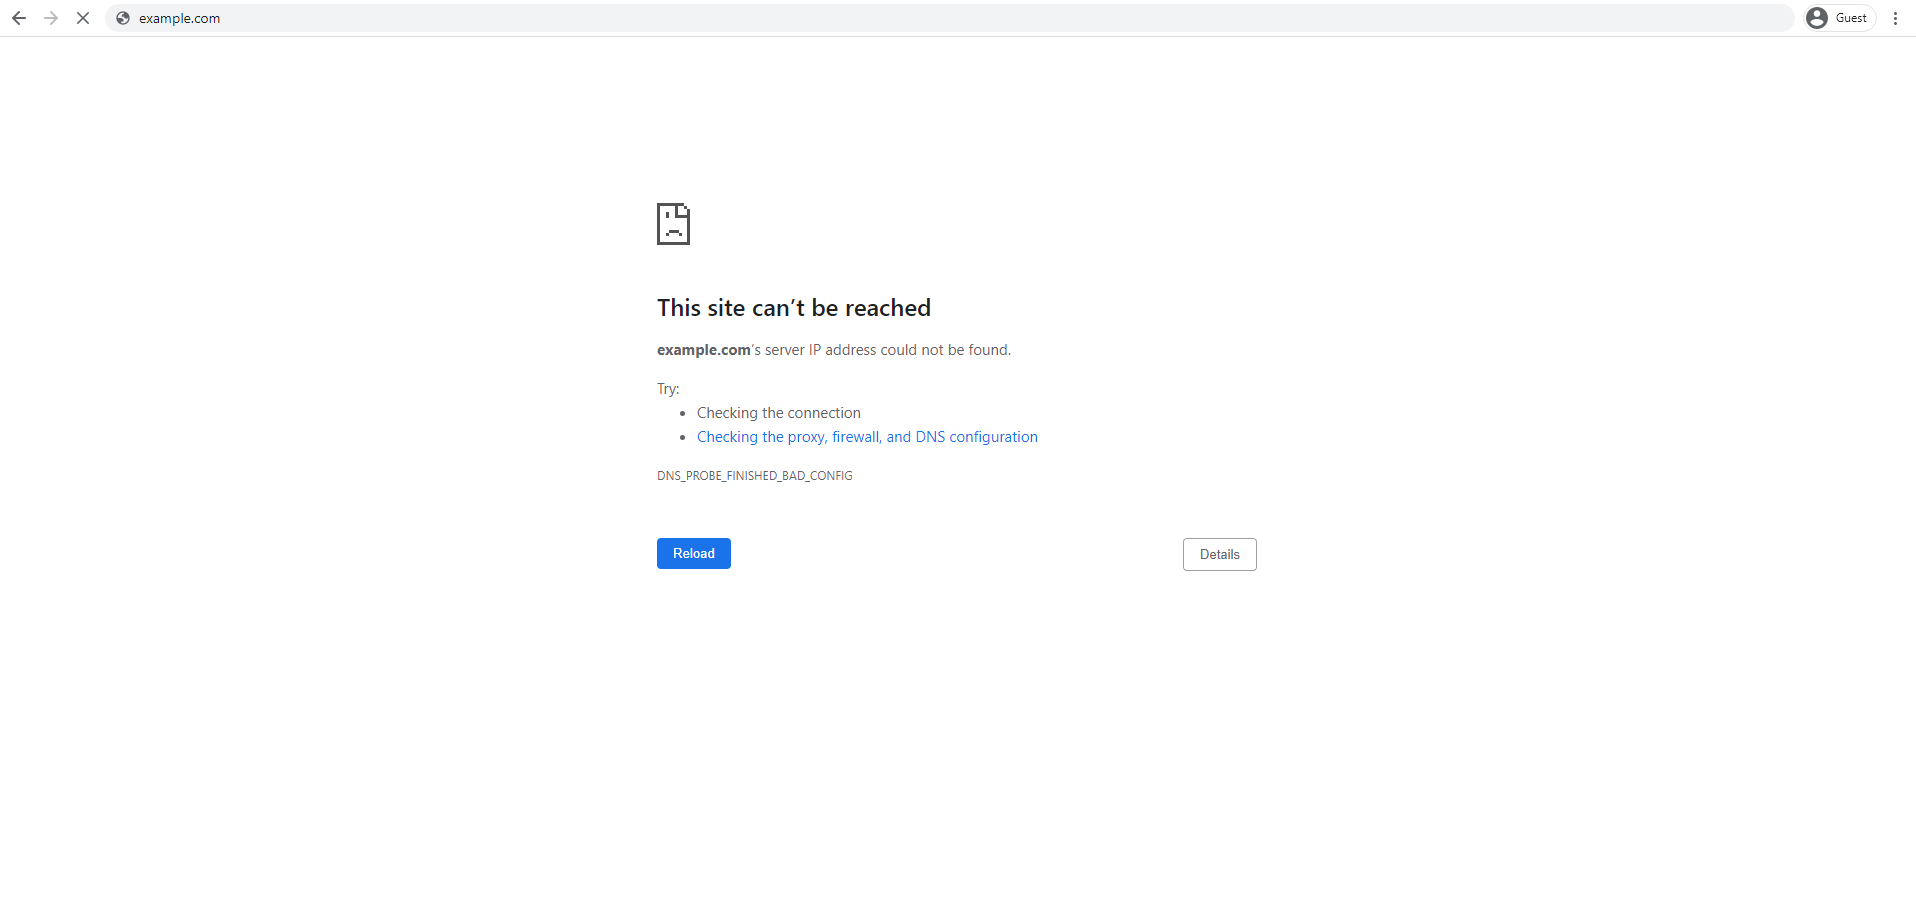
DNS_PROBE_FINISHED_BAD_CONFIG indicates a network connection issue that occurs when the DNS can’t look up the web server associated with a domain name or IP address. As a result, the website is inaccessible and visitors receive an error message such as “This site can’t be reached.”
11 Solutions to Fix the DNS_PROBE_FINISHED_BAD_CONFIG Error in Chrome
Before we get started, it is important to understand how the Domain Name System (DNS) works. It routes internet traffic and connects web servers to name servers, URLs, and IP addresses.
Website visitors only need to type in a domain name in their browser, and the DNS server will look up the URL and connect it to the corresponding web server. If the process can’t be completed successfully, you may encounter an error like DNS_PROBE_FINISHED_BAD_CONFIG.
It indicates that there is something wrong with the DNS settings, network connection, or third-party applications, preventing visitors from reaching the website. In this section, we’ll go over 11 solutions to fix the DNS_PROBE_FINISHED_BAD_CONFIG error.
1. Restart the Router
You may run into a number of internet connection issues when browsing websites. Sometimes, web pages may take a long time to process your requests or not load entirely.
If you run into the DNS_PROBE_FINISHED_BAD_CONFIG error, begin troubleshooting it by checking your router. Switch it off and wait for approximately one minute before turning it back on. Alternatively, unplug the internet cable and wait for another minute before reconnecting it.
Restarting your router will reset the connection with the internet service provider. In most cases, this will be enough to resolve the DNS_PROBE_FINISHED_BAD_CONFIG error.
2. Restart Your Device
If your device has been on for a long time, you may encounter software, memory, and even network connection problems. Restart your device regularly to maintain its health and avoid slowdowns.
Once the device turns on again, it will reconnect to the internet. This may solve DNS errors – try it after restarting your router for the best results.
3. Clear the Browser Cache
Browsers record information in the cache so they can load a site a lot faster the next time you visit it. The more websites you access, the more data the browser will cache, increasing the chances of it becoming corrupted and potentially causing DNS errors.
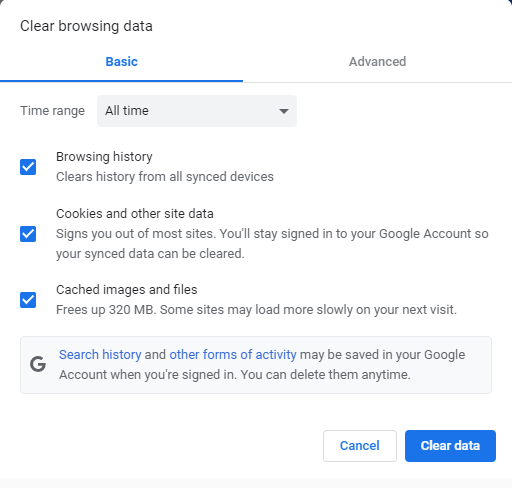
Clearing the browser cache entirely is an efficient way of solving the DNS_PROBE_FINISHED_BAD_CONFIG error. All browsers have this feature – here are the steps to do it on Google Chrome:
- Click the three dots menu on the top-right corner of your browser.
- Hover over More tools and select Clear browsing data.
- Choose a Time range and click Clear data.
4. Deactivate Antivirus and Firewall
Antivirus and firewall software provides protection against malware. That said, it may interfere with your network connection and even DNS configuration, blocking access to some websites.
Try to temporarily disable your firewall and antivirus software to see if this fixes the DNS_PROBE_FINISHED_BAD_CONFIG error. The methods may vary depending on what operating system and antivirus software you are using.
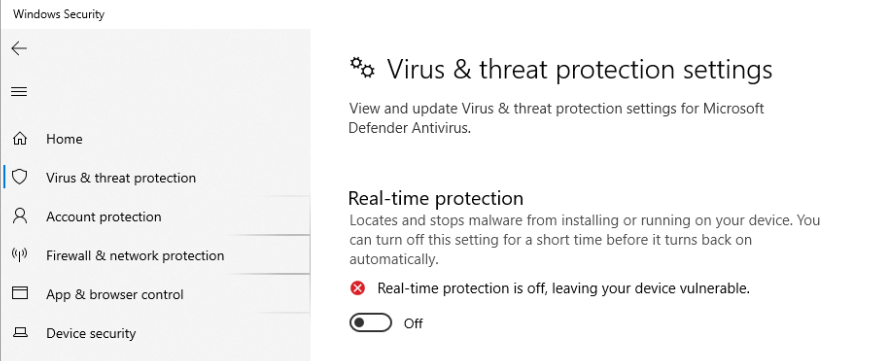
On Windows, you can deactivate the protection via the Windows Security application.
- Type Windows Security in the search field on the taskbar and press Enter.
- Choose Virus & threat protection settings.
- Switch Real-time protection to Off.
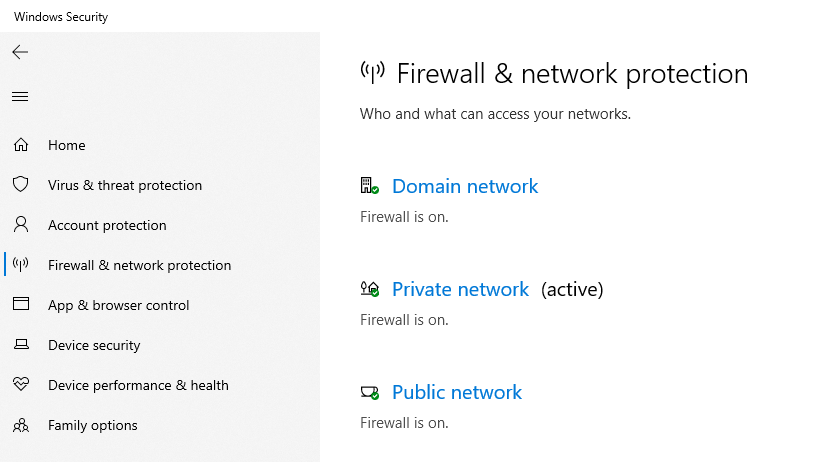
- To turn the Windows firewall off, navigate to Firewall & network protection, choose a Private or Public network and switch Windows Defender Firewall to Off.
Bear in mind that your machine may be exposed to malware if you disable the antivirus and firewall protection permanently. If you have determined that the antivirus software was causing the error, try contacting its support team for assistance.
5. Turn Off Website Blockers
Website blocker extensions may cause DNS_PROBE_FINISHED_BAD_CONFIG errors. This is because they interfere with your network configuration to stop ads and websites from redirecting you without your consent.
The best way to solve the problem is to turn off website blocker extensions or remove them from the browser entirely.
Here’s how to disable website blockers on Google Chrome:
- Open the three dots menu.
- Hover over More tools and click Extensions.
- Switch the website blocker extension off.

- To delete the extension, click Remove.
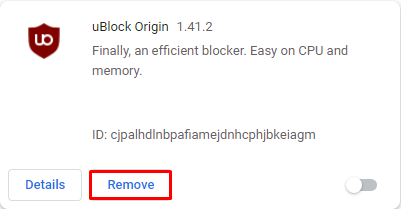
If you can access the website after disabling the extension, it was probably causing the DNS_PROBE_FINISHED_BAD_CONFIG error.
6. Delete Temporary Files
Browsers and operating systems save temporary internet files, such as cached websites, cookies, and browsing history details. There is a high chance they might become corrupted, leading to the DNS_PROBE_FINISHED_BAD_CONFIG error occurring.
One of the solutions involves deleting the temporary files. Here’s how to do it on Windows:
- Enter %temp% in the search field on the taskbar.
- The temp directory will open.
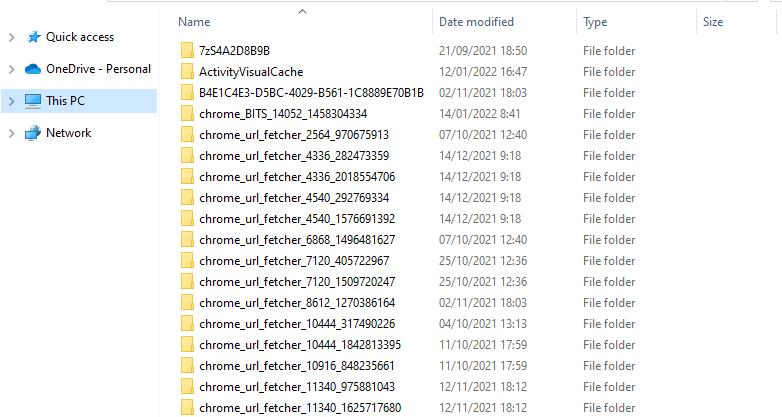
- Select all the files and folders and delete them.
If this doesn’t solve the DNS_PROBE_FINISHED_BAD_CONFIG error, proceed to the next step.
7. Flush DNS
The DNS cache saves IP address records every time you visit a website. If you change any DNS settings, this information will be updated, allowing the DNS server to point you to the right IP address when you’re trying to access a site.
However, if your system relies on the data in the local cache when connecting to the network, you may run into the DNS_PROBE_FINISHED_BAD_CONFIG error. To fix it, you’ll need to flush the DNS cache.
To flush the DNS cache on Windows, follow these steps:
- Type cmd in the search field on the taskbar.
- Right-click on the Command Prompt icon and select Run as administrator.
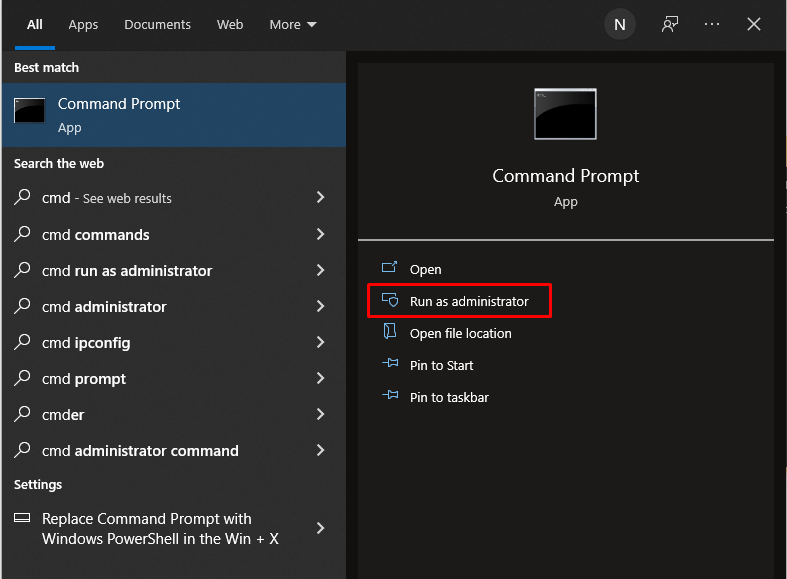
- Type ipconfig /flushdns in the Command Prompt window and hit Enter.
8. Change the DNS Settings
Internet service providers distribute default DNS server addresses. However, in some cases, the servers may suffer from issues, impacting your connectivity.
Try changing your system’s DNS server address to solve the DNS_PROBE_FINISHED_BAD_CONFIG error. We recommend using a public DNS server like the one provided by Google.
Here’s how to change the DNS server addresses on Windows:
- Open the Start menu and select Settings.
- Choose Network & Internet and click Status.
- Click Properties and select Edit.
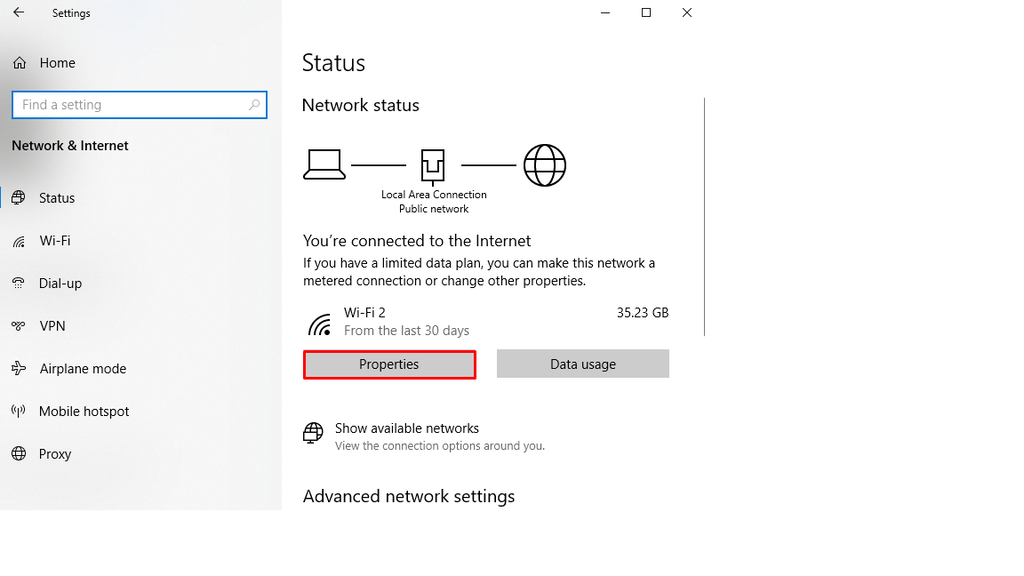
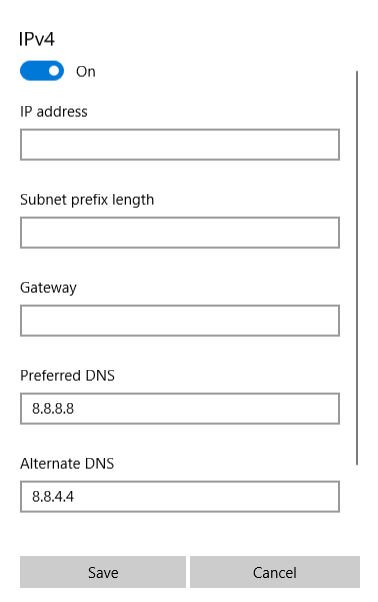
- Choose Manual and toggle on the IPv4 option. Inside the Preferred DNS field, enter the IP address 8.8.8.8. Input 8.8.4.4 as the Alternate DNS. Click Save to confirm the changes.
Follow these instructions to change the DNS server addresses on macOS:
- Open the Apple menu and select System Preferences.
- Click Network and select your internet connection from the panel on the left.
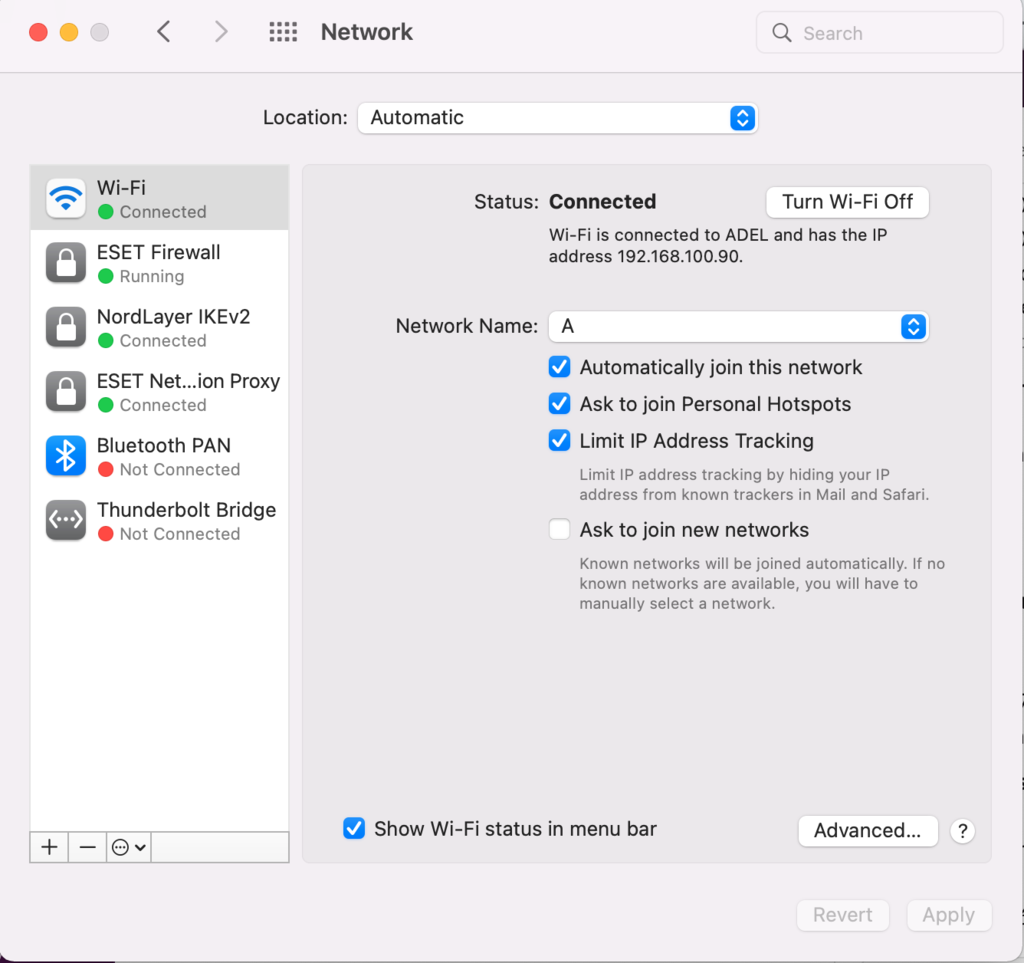
- Click Advanced….
- Switch to the DNS tab. Using the plus icon below the DNS Servers field, add the IP addresses 8.8.8.8 and 8.8.4.4.
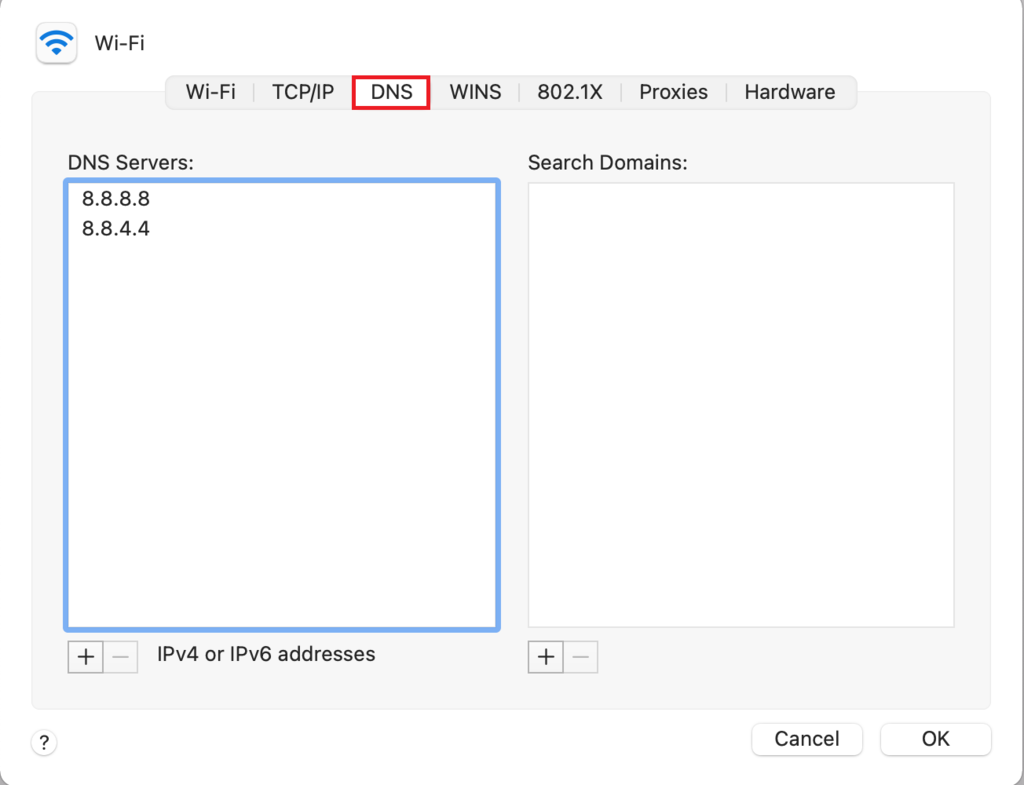
- Click OK and Apply to save the changes.
Changing the DNS server addresses should solve the DNS_PROBE_FINISHED_BAD_CONFIG error in most cases.
9. Reset Network Settings
If the methods above didn’t work, try resetting your network settings. This will restore them to their original values and establish a new connection.
To reset the network settings on Windows, follow these steps:
- Open the Start menu and choose Settings.
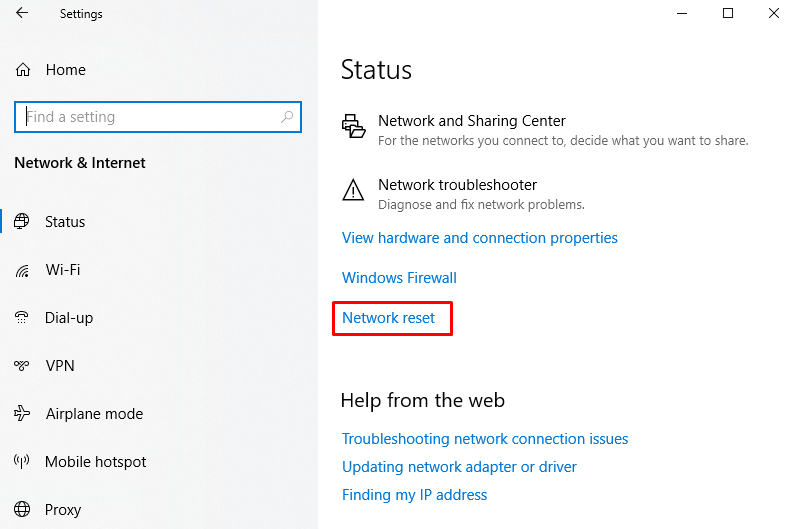
- Click Network & Internet and select Status.
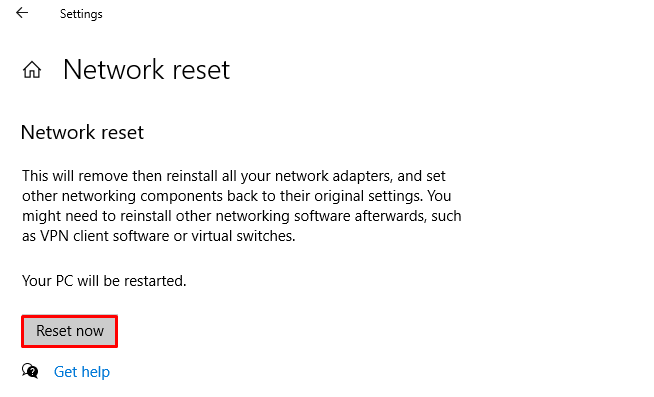
- Choose Network reset.
- Click Reset now.
Here’s how to do it on macOS:
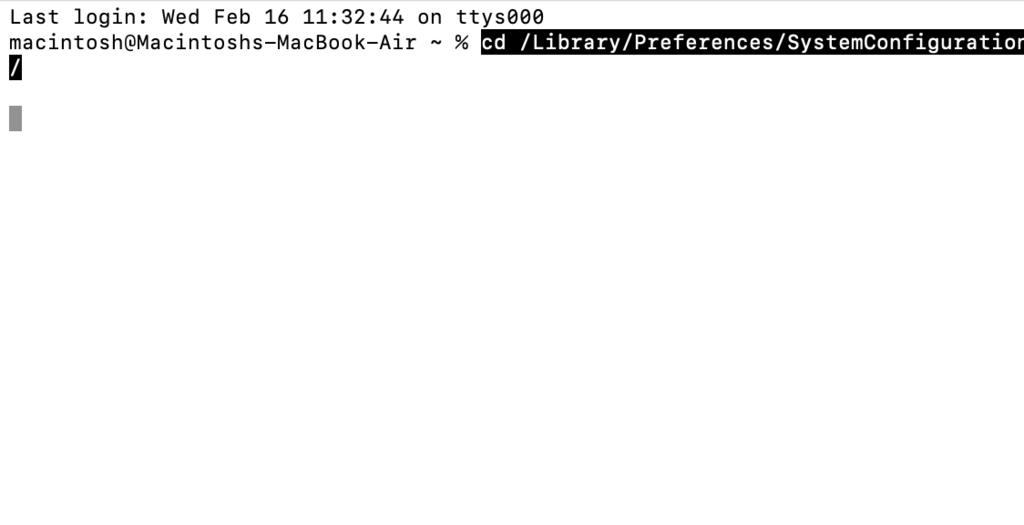
- Open Launchpad and type in Terminal. Run the application.
- Type cd/Library/Preferences/SystemConfiguration/ and press Return to change the active directory.
- Run the rm -f preferences.plist NetworkInterfaces.plist com.apple.airport.preferences.plist com.apple.wifi.message-tracer.plist command – this will delete the network configuration files.
- Type sudo killall -HUP mDNSResponder ; sudo dscacheutil -flushcache to flush the DNS cache.
10. Renew the IP Address
Renewing your IP address is another way to fix the DNS_PROBE_FINISHED_BAD_CONFIG error. Your computer will request a new IP address from the Dynamic Host Configuration Protocol (DHCP) server or router. Before renewal, make sure to release the old IP address first.
Here’s how to do it on Windows:
- Type cmd in the search field on the taskbar.
- Right-click on Command Prompt and choose Run as administrator.
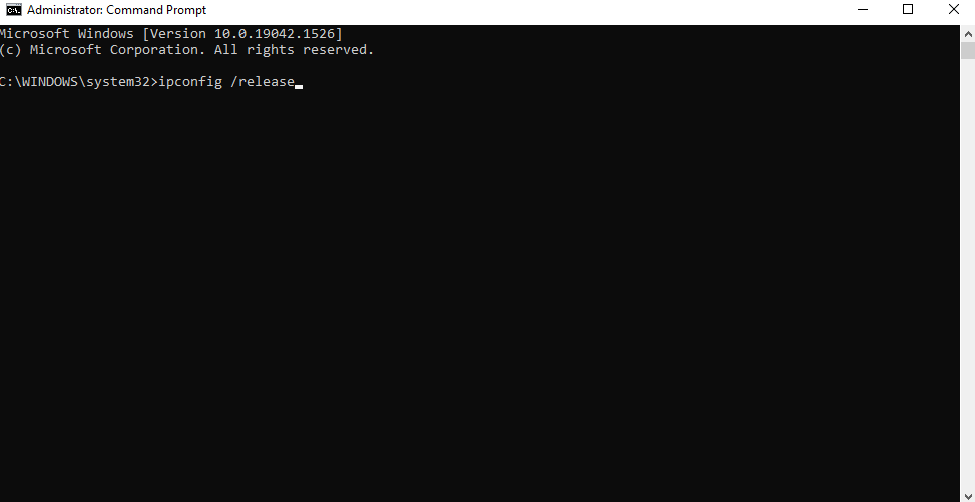
- Run the following commands:
ipconfig /release
ipconfig /renew
11. Update the Network Driver
Outdated network drivers may cause a number of problems, including the DNS_PROBE_FINISHED_BAD_CONFIG error. Therefore, it is important to check whether your network drivers are up-to-date.
To update the network drivers on Windows, follow these steps:
- Type Device Manager in the search field on the taskbar and press Enter.
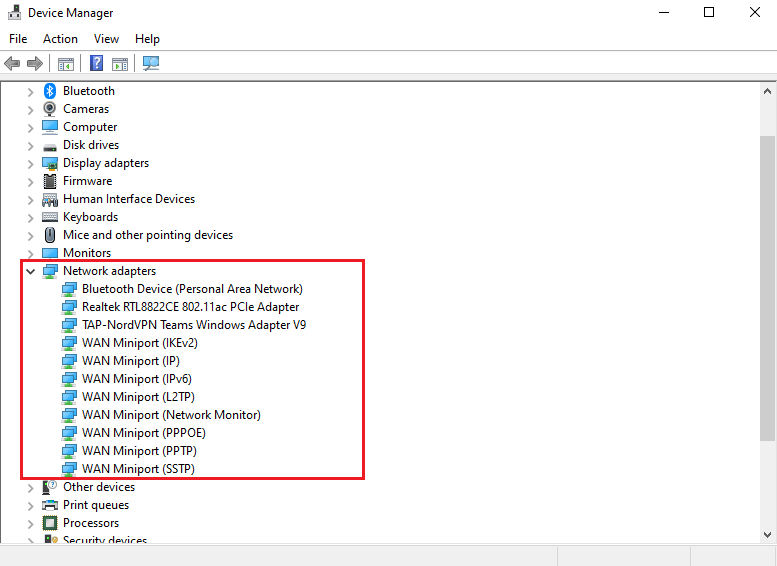
- Select Network adapters.
- Update the drivers of each network adapter by right-clicking them one by one and selecting Update driver.
- Restart your device and try accessing the website again.
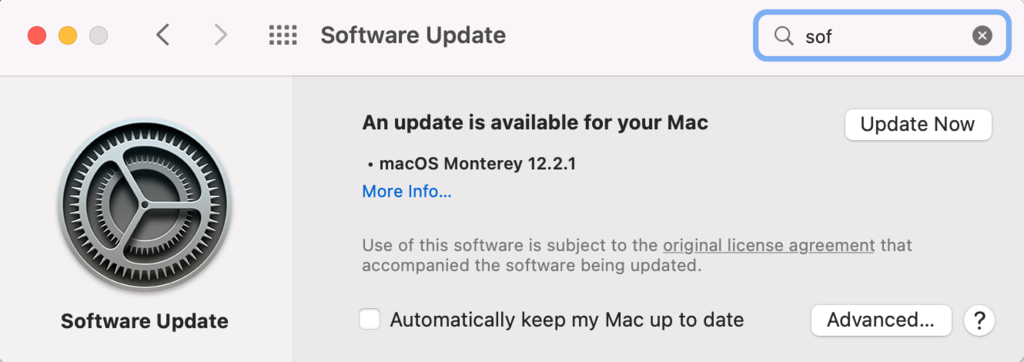
If you’re a Mac user, you don’t need to worry about the network drivers as long as you update the operating system. Here’s how to update macOS:
- Click the Apple icon.
- Select About This Mac and choose Software Update.
- If you see an update available, click Update Now.
Encountering DNS errors? Find out how to fix them
Conclusion
When you’re browsing the internet, you may encounter the DNS_PROBE_FINISHED_BAD_CONFIG error message instead of a web page. It may be caused by a number of reasons, including a malfunctioning router, wrong DNS settings, or conflicts with third-party applications.
While the DNS_PROBE_FINISHED_BAD_CONFIG error may seem intimidating, it is quite common and there are multiple ways to fix it. In this article, we’ve gone over 11 methods to solve it.
We hope this article has helped you solve the DNS_PROBE_FINISHED_BAD_CONFIG error. If you have any questions or tips, feel free to leave a comment below.

Noviantika is a web development enthusiast with customer obsession at heart. Linux commands and web hosting are like music to her ears. When she's not writing, Noviantika likes to snuggle with her cats and brew some coffee.
