WordPress Memory Limit: Fixing and Increasing PHP Memory
If your WordPress website has a lot of media content or is running large scripts, you may encounter the following error message while editing it:
- Fatal error: Allowed memory size of XXXXX bytes exhausted.
- Fatal error: Out of memory.
This means that your WordPress code requires more memory than the default value provided. However, resolving this problem is simpler than it appears, and it doesn’t demand any technical expertise.
In this article, we’ll clarify what the WordPress memory limit is, demonstrate how to increase it, and explore why you might encounter one of the error messages mentioned above.
What Is the WordPress Memory Limit?
The WordPress memory limit is also known as WordPress PHP memory limit or simply PHP memory limit. It mainly sets the maximum amount of memory that a script can use on the website.
Servers store all the data and files of websites. Thus, a server must have the necessary storage capacity, processors, and RAM or memory in order to keep the site running.
The RAM capacity of a server varies depending on the hosting provider and plan used. A starter plan usually offers a low amount of RAM compared to a business or professional plan.
Every web application and function takes up some memory. The more plugins installed or media files uploaded, the more memory the site will require. If it runs out of memory, the site’s loading speed may decrease, or worse, it won’t load at all.
Hence, the WordPress memory limit is there to ensure that the website scripts don’t exceed the server’s RAM capacity.
How to Increase the WordPress Memory Limit?
By default, the memory limit is set to only 32 MB, which may not be enough for your site. However, there are several methods to increase it.
You can modify the .htaccess or wp-config.php file, set it using the hPanel PHP Configuration, or upgrade your hosting plan.
How to Increase the WordPress Memory Limit Using an FTP
One way to edit the .htaccess or wp-config.php file is via an FTP client like FileZilla. Make sure to connect FileZilla with your site’s FTP account before continuing with one of the following tutorials:
Editing the .htaccess file
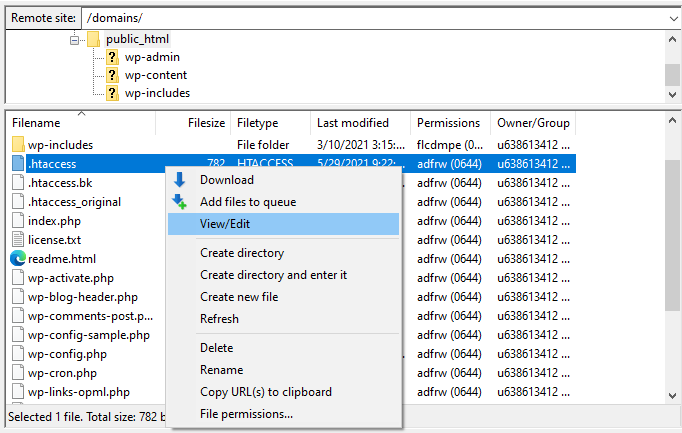
- Access the site’s public_html folder or root directory and find the .htaccess file.
- Right-click on the file and select View/Edit to be directed to the text editor.
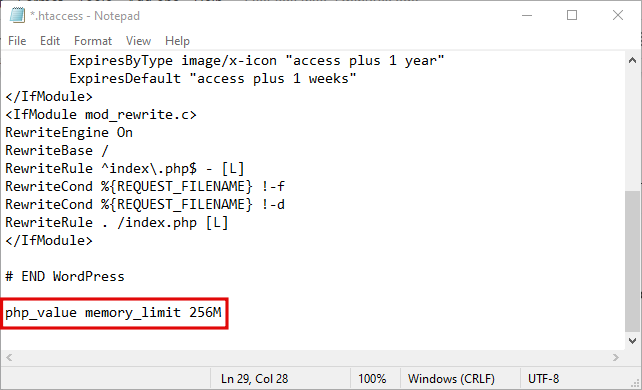
- Look for the line:
# END WordPress
Add the following code beneath it:
php_value memory_limit 256M

- Save the file and close the editor.
- Click Yes when FileZilla asks whether to upload the modified file, then reload the site.
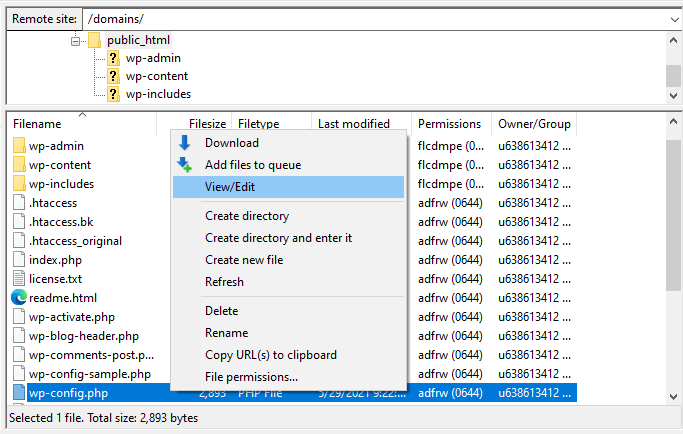
Modifying the wp-config.php file
- In the root folder, right-click on the wp-config.php file and select View/Edit.
- Find the line containing WP_MEMORY_LIMIT and change 64M to 256M.
- If it doesn’t exist, insert the following code above the line /* That’s all, stop editing! Happy publishing. */ or /* That’s all, stop editing! Happy blogging. */:
define('WP_MEMORY_LIMIT', '256M');
- Save the changes and upload the file.
When visiting the site, you shouldn’t experience the “memory limit exhausted” error again.
How to Increase the WordPress Memory Limit Using the File Manager
A more straightforward method to modify the .htaccess or wp-config.php file is via the file manager on your control panel. For this tutorial, we’ll be using hPanel:
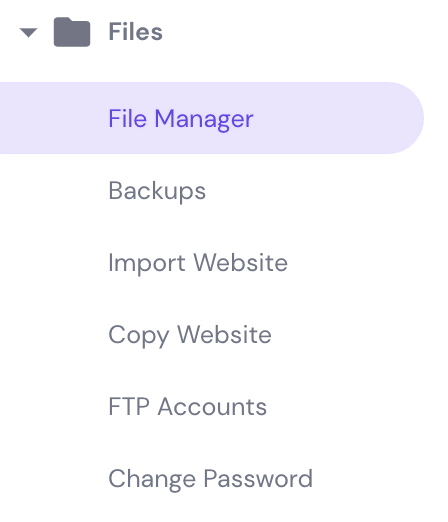
- Access hPanel, navigate to the Files section, and select File Manager.
- Open the public_html folder or root directory, and double-click on the wp-config.php file.
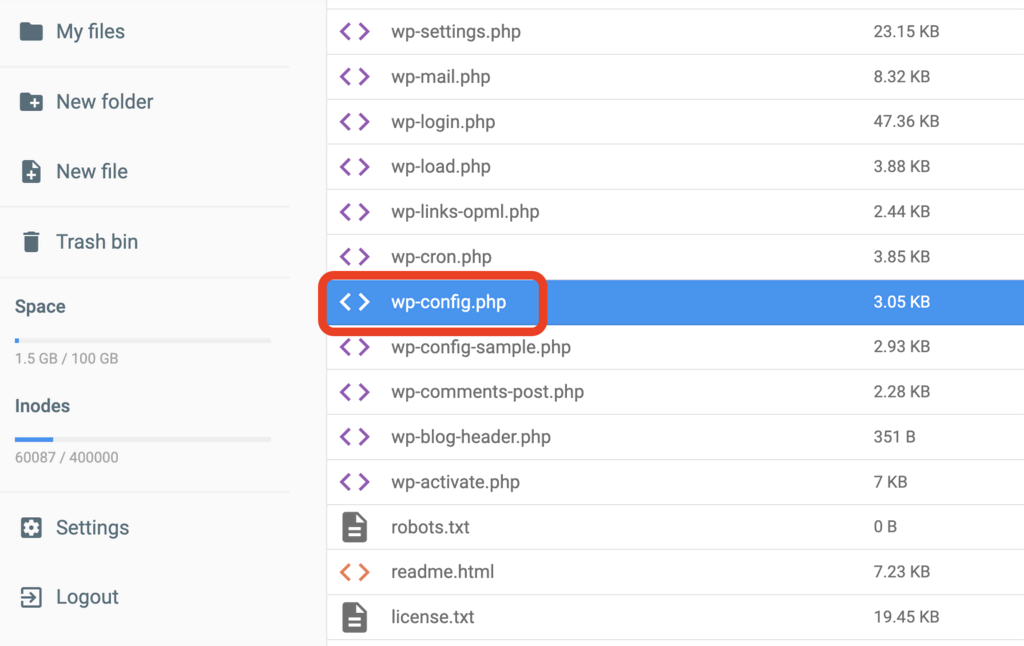
- Insert the code mentioned on the FTP tutorial based on the file chosen, then press SAVE & CLOSE when done.
Though you won’t be making any significant changes using the methods above, you should back up your site before editing it. This ensures you won’t lose your WordPress site if something goes wrong.
How to Increase the WordPress Memory Limit From the hPanel
An alternative solution for Hostinger clients is to set the memory limit via PHP Configuration on the hPanel:
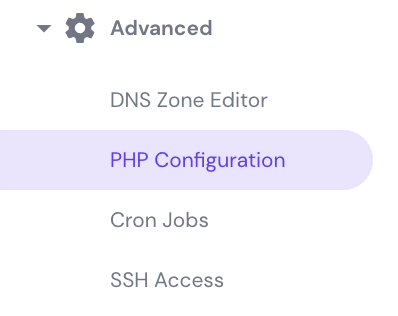
- Log in to hPanel, scroll down to the Advanced section, and select PHP Configuration.
- Choose PHP Options and find the memory_limit field.
- Click on the dropdown menu and pick the highest amount.

If the memory limit is already at the maximum, then the last option is to upgrade your hosting plan to get more RAM.
For example, our WordPress Business and Cloud Startup plans provide more RAM compared to the Premium plan.

How to Check the WordPress Memory Limit?
Once you’ve configured the memory limit, you might want to see if it worked. The following steps apply to users who are running WordPress 5.2 and above:
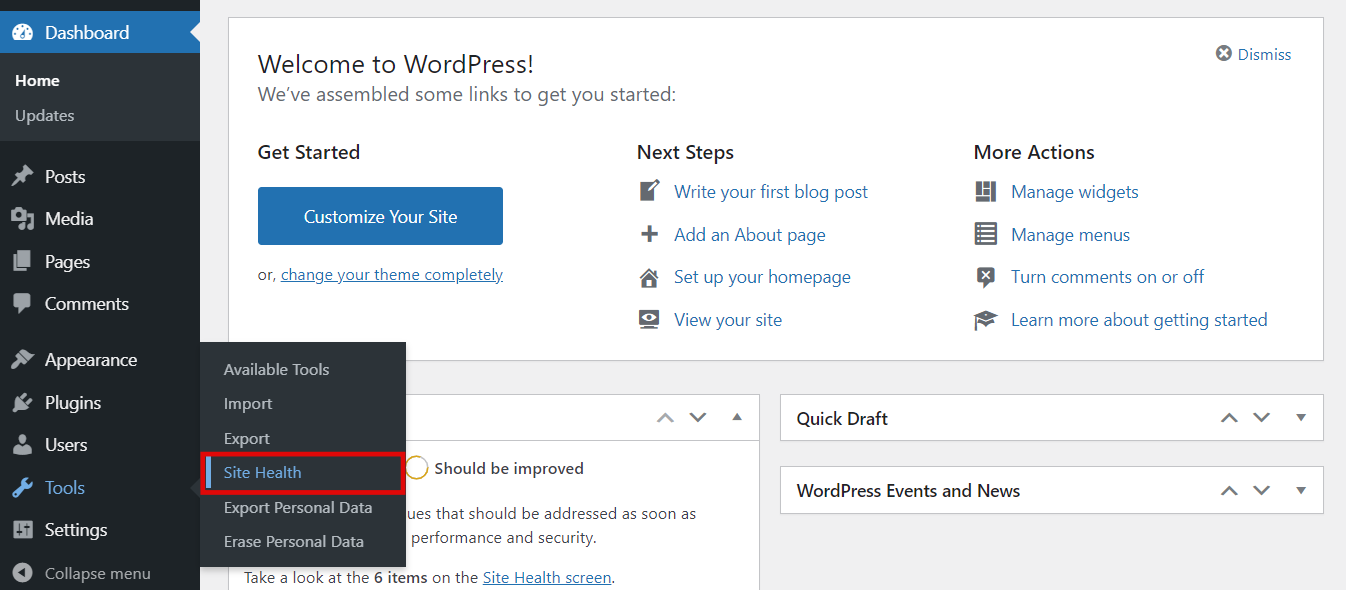
- Access the WordPress dashboard, hover on Tools, and select Site Health.
- Choose the Info tab and click on Server.
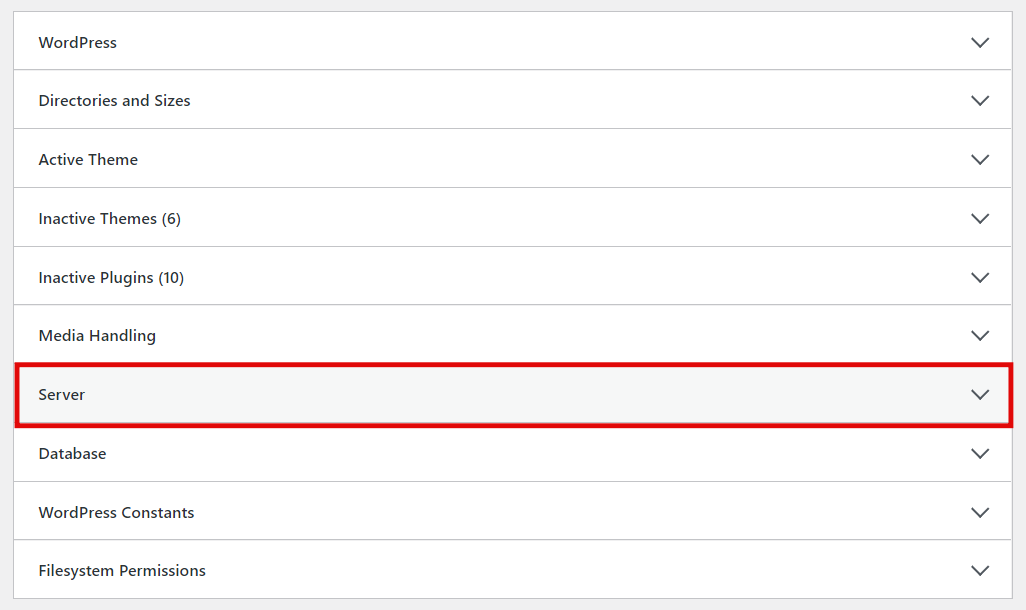
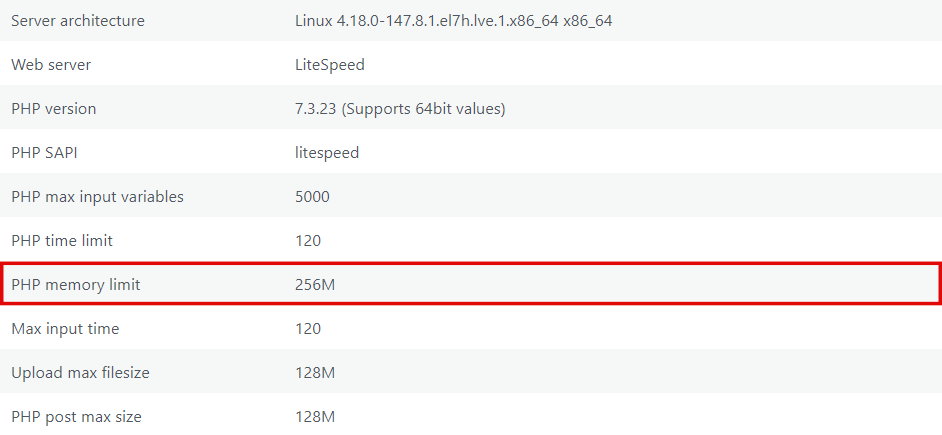
- Scroll down through all server settings until you find the PHP memory limit.
What Causes the “WordPress Memory Limit Exhausted” Error?
The most common cause is that the memory limit may still be set to the default value instead of the highest option. Hence, it’s important to check it before you start fixing the problem.
If that’s not the case, then you might be outgrowing the hosting resources. As your WordPress website grows, the size of its database, plus the number of scripts and files, also increases. In addition, there might be plugins or themes that need extra memory to run as well.
Hosting providers allocate only a certain amount of resources, including the RAM limit, for different types of hosting plans. When starting your WordPress journey, you might have chosen a plan with limited RAM due to affordable prices, but it might be time to upgrade it.
Other than the memory limit exhausted error, you may also encounter the following issue:
yourfile.png exceeds the maximum upload size for this site
In this case, visit our How to Increase the Maximum File Upload Size article to find solutions other than increasing the memory limit to fix that specific issue.
Conclusion
The WordPress PHP memory limit is the amount of memory available for scripts to run on your WordPress site. It ensures that the site doesn’t exceed the server’s RAM capacity given by the hosting provider.
The limit is usually set to 32 MB, which may not be enough to run a media-rich site and all its plugins. Thus, you will receive the exhausted memory error message when a script goes over the limit.
Here’s a recap on how to increase the WordPress memory limit:
- By editing the .htaccess or wp-config.php file via an FTP or file manager.
- Set the size limit through PHP configurations on hPanel.
- Upgrade your hosting plan to use more resources.
Don’t be afraid to contact our customer support team if you have additional questions or if the chosen method didn’t solve the problem.
Learn Other Advanced WordPress Techniques
How to Create a Shortcode in WordPress
WordPress Localhost
How to Speed Up WordPress
How to Remove Sidebar in WordPress
How to Use WordPress Icon Fonts
WordPress A/B Testing Guide
How to Create a Staging Envinorment in WordPress
How to Add PHP to WordPress

Domantas leads the content and SEO teams forward with fresh ideas and out of the box approaches. Armed with extensive SEO and marketing knowledge, he aims to spread the word of Hostinger to every corner of the world. During his free time, Domantas likes to hone his web development skills and travel to exotic places.

Comments
October 14 2023
What if you're getting this one as well? How do you fix it? Time: Sat Oct 14 05:05:37 2023 +0200 Account: tmfcf Resource: RSS Memory Size Exceeded: 270 > 256 (MB) Executable: /usr/local/bin/php-cgi Command Line: /usr/local/bin/php-cgi /home/tmfcf/xxxxxxxx.xxx/wp-admin/admin-ajax.php PID: 1524 (Parent PID:28371) Killed: No
November 02 2023
Hi! To tackle the RSS Memory Size issue on your Hostinger account, check for unused plugins & themes on your WordPress site and disable it. You can also implement caching using plugins like WP Super Cache or W3 Total Cache to serve cached web pages and reduce memory consumption. If the problem persists, please contact our Customer Success team ?