How to Embed Google Maps in WordPress (3 Beginner-Friendly Ways)

One of the main functions of a business website is enabling potential customers to find you faster. If you operate from a physical location, you need to make sure you’re giving visitors all the information they need to get there. In most cases, displaying a map is much better than just spelling out your address.
Fortunately, WordPress enables you to add a map to your site in several ways. In this article, we’re going to talk about how to do so using:
- A WordPress Google Maps plugin.
- Google Maps’ embed feature.
- Your WordPress theme.
We have a lot of information to go over, so let’s jump right in!
Why You Might Want to Add Google Maps to WordPress
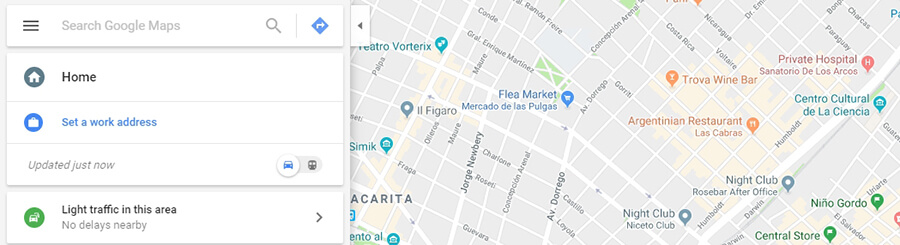
Adding a map to your website is a far superior option to just displaying an address. With a map, people can get a quick idea of which street you’re on, what’s nearby, and how to find you.
Deciding what type of map to add is a little more challenging. Some people just include screenshots taken from online sources. However, that’s an inferior alternative when you have options such as Google Maps available to use for free.
Here are a few of the ways WordPress Google Maps can improve your site:
- They’re interactive, so visitors can move the map around until they get a better idea of where you’re located.
- You can use Google Maps to highlight any location you want, even multiple ones.
- Visitors can switch between map and street views, which enables them to see what your location looks like from the outside.
- Users can quickly send maps to their phones, where they can get instructions on how to navigate to your location.
Of course, there are other online map services aside from Google Maps. However, Google has the advantage of being a household name. So most people who visit your site will likely be used to how Google Maps works, and will trust its reliability.
The bad news is that WordPress doesn’t include any built-in features to add Google Maps to your site out of the box. However, that’s something you can easily fix using plugins, themes, or even Google Maps’ own built-in functionality.

How to Add Google Maps to WordPress (3 Methods)
Throughout the article, we’re going to walk you through three ways you can add Google Maps functionality to your website. We’ll start with plugins, move on to adding maps manually, and round things off by looking at themes. Let’s get right to it.
1. Install a WordPress Google Maps Plugin
Google Maps is a very popular feature to include in websites, therefore, it should come as no surprise that many WordPress Google Maps plugins are already available.
For example, with WP Google Maps, you can add maps to your pages using shortcodes. Moreover, this plugin also provides you with options to customize your map markers, choose from among several themes for your maps, and more.

In our opinion, WP Go Maps is one of your best options, since it also supports advanced features such as compatibility with multiple WordPress cache plugins and Content Delivery Networks (CDNs).
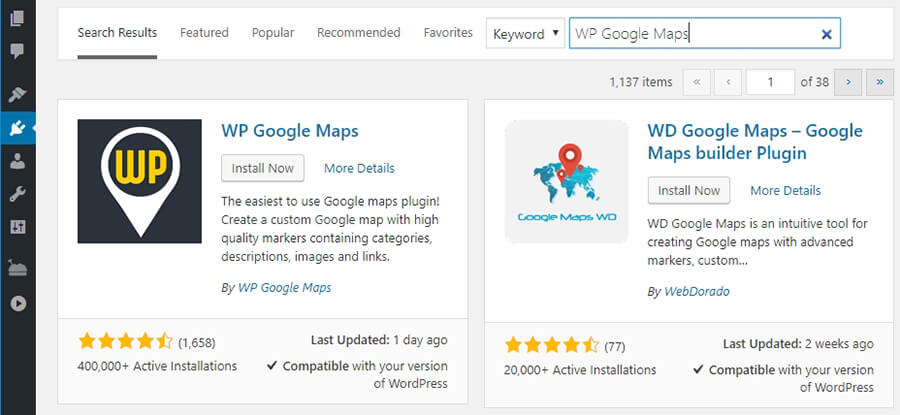
There are other plugins you can use, however. WD Google Maps is a solid option. This plugin supports multiple markers, provides mobile-friendly maps, and offers several customization settings.

When you add a new map using WD Google Maps, the plugin guides you along the process using an intuitive builder, which includes built-in preview features.
Finally, Google Maps Widget is also one of the better WordPress Google Maps plugins. This particular plugin is very easy to set up. It also enables you to add thumbnail-sized maps to your WordPress sidebar or footers, which visitors can expand with a click.

This is a useful tool if you lack space on your website, since you can fit widgets in almost anywhere.
However, for business sites, we’re more partial to including full-sized maps, since they’re harder to overlook. With that in mind, let’s talk about how to use the WP Google Maps plugin.
First, go to your WordPress dashboard and navigate to the Plugins › Add New tab. Use the search bar to look for the WP Google Maps plugin. When you see it appear among the results, click on the Install Now button right next to it.
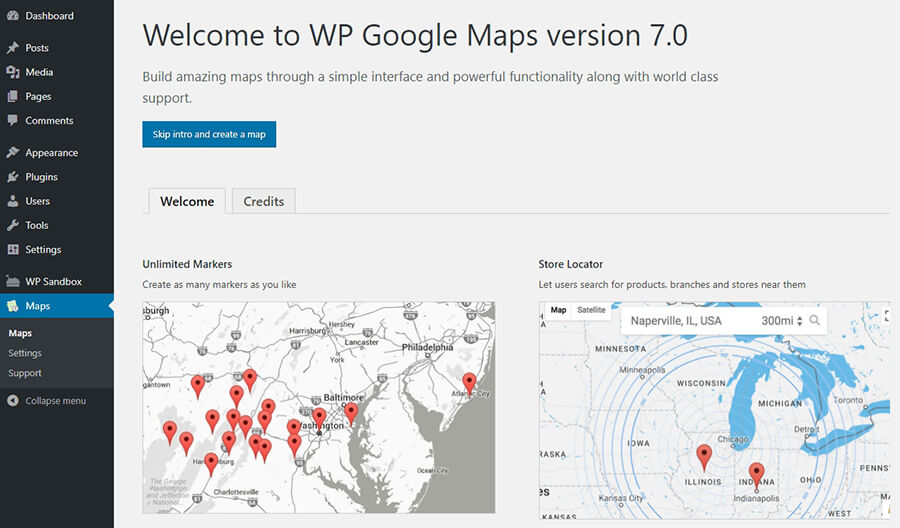
Activate the plugin, and a new tab called Maps will appear in your dashboard. If you click on it, the plugin will display a brief intro page. However, you can hit the Skip intro and create a map button to jump right into it.
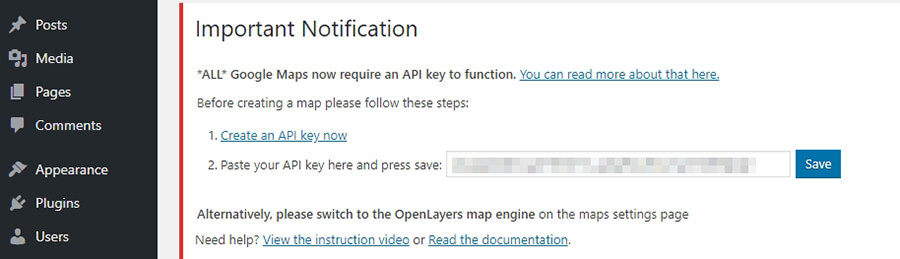
On the next page, the plugin will inform you that it needs a Google API key to work. Go ahead and get yours by clicking on the Create an API key now link.

Google will ask you to agree to its terms before you can create an app and get an API key. Once you agree, Google will set up a new project for you, and you can generate an API key right away.

We’re obscuring the API key here, since you should never share yours with other people. After all, it’s associated with your account, and you don’t want others to abuse it. Your API key will be a long combination of letters and numbers. Once you have it, return to your dashboard and paste it in where the plugin prompts you to.
You should see a success message, and you can now get to work on your first map.
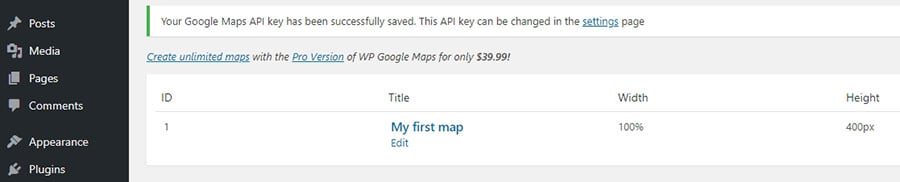
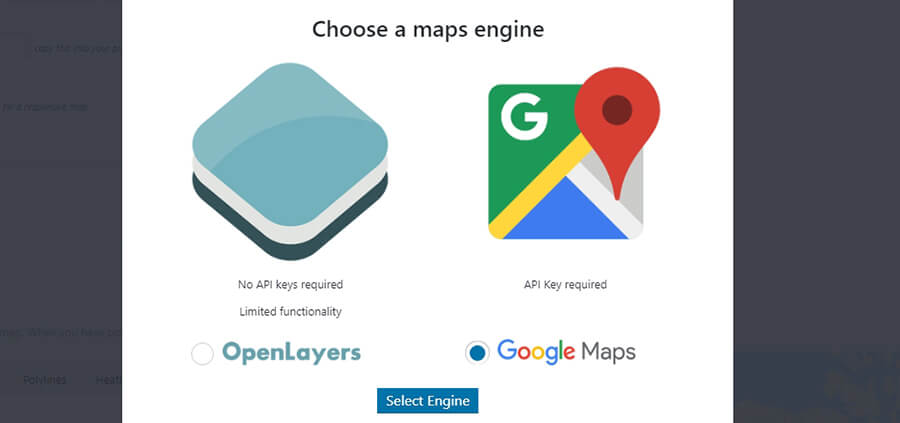
As you can see above, the plugin takes the liberty of setting up a test map for you, which you can edit and use on your website. To do that, click on the Edit button under the map’s name. Now, the plugin will ask you to choose which platform should power your map. Pick the Google Maps option.
The first thing you need to do is set a name for your map. Then you can change its width and height. The default width of 100% will automatically create a map that scales with your site’s resolution, so it’s almost always the best option.
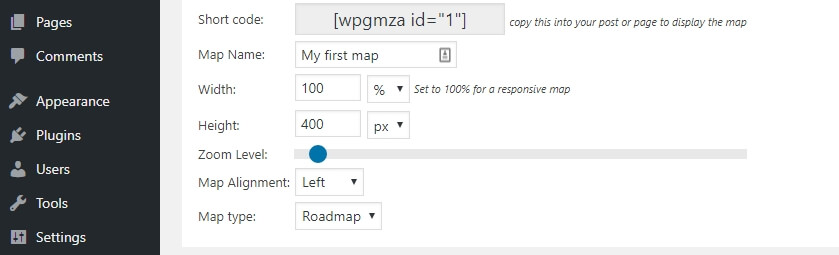
You’ll also see an option to modify your map’s initial zoom level, and decide what type of layout it should display. For example, you can use classic roadmaps or terrain maps. In most cases, the former is the best option, since it’s most useful to your visitors.
Next, scroll down to the Markers section. Here, you can specify which location you want your map to display, by typing in its GPS coordinates. You can also move around the map to the right, and right-click on any location you want to mark.

Below your marker’s Address/GPS setting, there are also options to add simple animations to the map. For example, you can add a small bounce to your marker when the map loads, which can be a nice touch. You can also configure your Google Map to display a pop-up box next to your marker, which will spell out its full address.
When you’re ready, click on the Save Marker button and the page will reload. Then, hit the Save Map button in the middle of the screen, and the plugin will save all of your changes.
You can embed the WordPress Google Maps you create with this plugin by pasting their shortcodes anywhere on your site. You can find those shortcodes within the Maps tab in your dashboard, to the right of each entry.

With all of that done, you just successfully added your first Google Map to WordPress. With this plugin, you can create as many maps as you want.
2. Use Google Maps’ Embed Feature
If you don’t want to use a plugin to create WordPress Google Maps, you can go the manual route instead. There are built-in embed features you can use to place Google Maps in WordPress. However, a far easier approach is to use a service that enables you to generate embed codes for Google Maps on the fly.
Embed Google Map is a perfect example. It lets you look up addresses using Google Maps’ default interface, and tweak the size and level of zoom you want your maps to use.
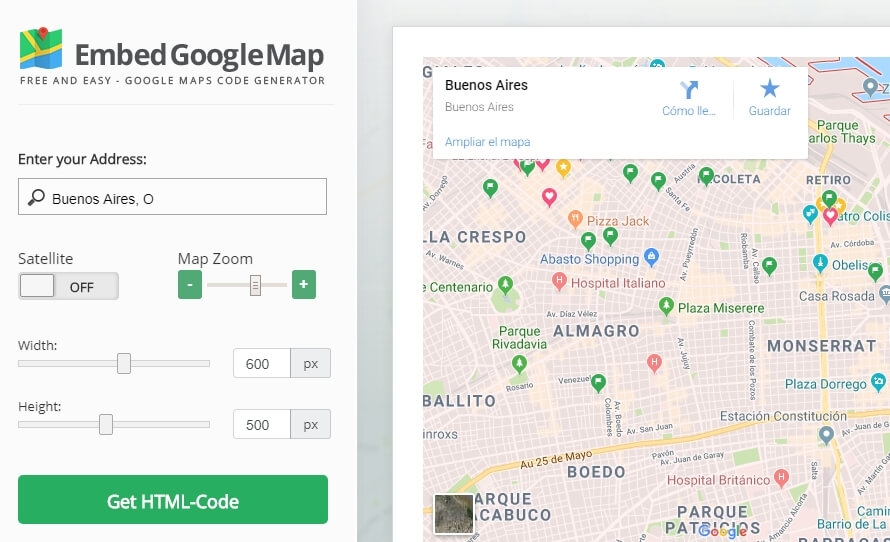
Once you’ve configured this handful of settings, you can click on the Get HTML-Code button, and the site will generate an HTML code snippet you can add to your website.
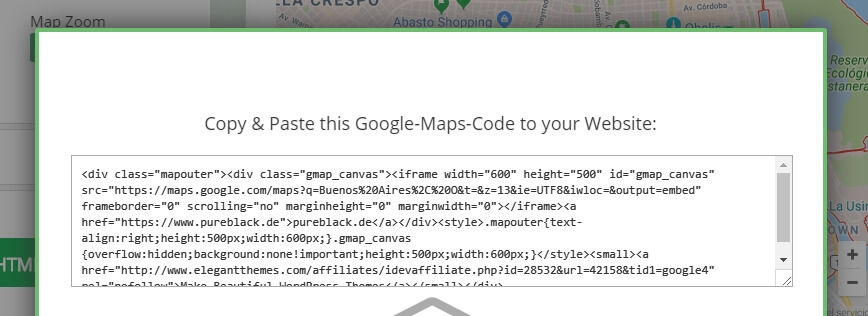
Go ahead and copy that code now, then go back to your WordPress dashboard. Next, open the editor for whichever page you want to add your Google map to. Select the Text tab, which supports HTML code.
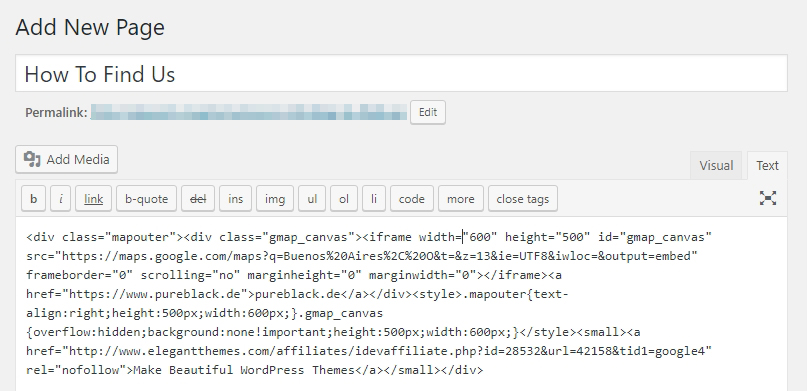
Paste in the code wherever you’d like your map to appear on the page. Then, save your changes, and take a look at your page on the front end.
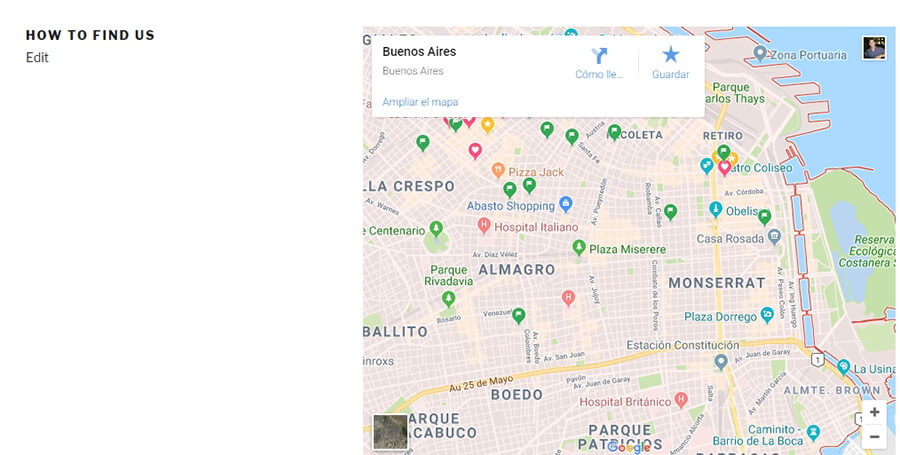
The downside to this approach is you will need to generate new embed codes for each map you want to add to your website. On the plus side, once you add a map via HTML, you’ll be able to see it within your editor’s Visual tab.
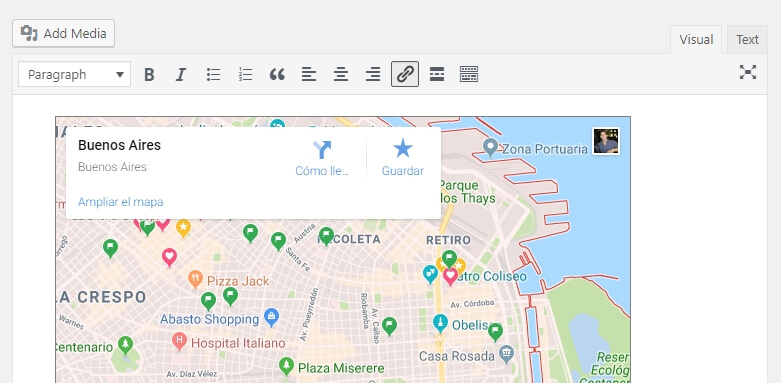
This will enable you to keep working on your pages, without having to do everything using the Text editor.
3. Add Maps Through Your WordPress Theme
WordPress Google Maps are popular enough that there are even some themes that enable you to add them to your site using built-in functionality. This means that with the right WordPress theme, you won’t need to use a plugin or add HTML code to your site.
However, finding a theme that supports this feature can require a bit of work. In most cases, only premium themes will include this option, so this approach may require you to spend a bit of money. However, if you’re buying a premium theme, you’re probably not doing it solely because it supports WordPress Google Maps.
If you don’t know where to start looking, multipurpose WordPress themes should probably be your first stop. These types of themes pack as many features as possible, so you can use them to build any type of site you can imagine.
One of the most popular multipurpose themes is called Divi. This theme offers a number of advantages, including its own built-in visual page builder.
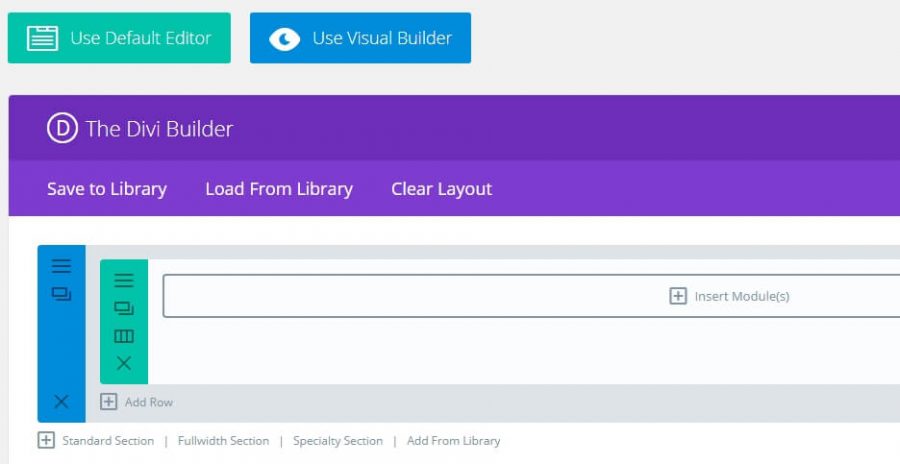
When you create pages using the Divi Builder, you can divide them up using rows and columns. Then, you can add specific modules within the resulting spaces.
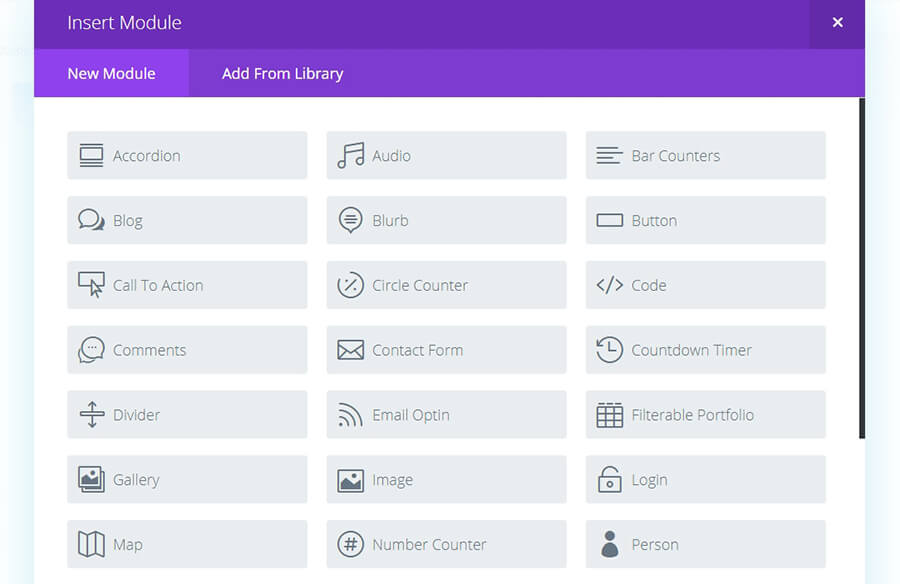
One of the modules in the above screenshot is called Map. Click on it, and the theme will ask you to enter your Google API key.
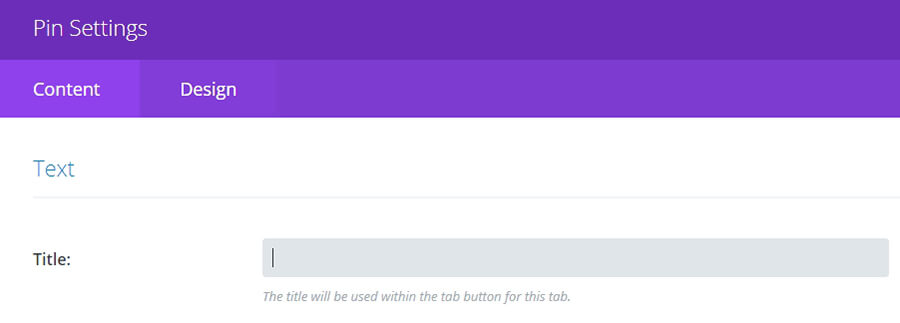
Once you paste your API key in, you can choose where to position your map, and add as many markers as you want to it.
Other examples of themes that support WordPress Google Maps out of the box include Travelmatic, Estato, and Reales WP. It’s a very popular feature among travel-centric and real estate themes, but you can find it available for other types of themes if you look around.
Learn What Else You Can Do With WordPress
How to Log in to WordPress
2 Methods on Adding WordPress Menu Icons
How to Schedule Posts in WordPress
How to Manage User Roles and Permissions in WordPress
How to Reinstall WordPress
How to Add Facebook Like Button to WordPress
How to Install WordPress on a Subdomain
Guide to WordPress Favicons
How to Embed iFrame Into WordPress
Conclusion
There’s no better way to share an address on your website than by using an interactive online map. Google Maps enables anyone to figure out how to get to your location from wherever they are, which means they’ll be more likely to pay you a visit. Plus, adding Google Maps to WordPress is simple, since there are several easy ways to do it.
Do you have any questions about how to use WordPress Google Maps on your site? Feel free to ask us in the comments section below!

Will Morris is a staff writer at WordCandy. When he's not writing about WordPress, he likes to gig his stand-up comedy routine on the local circuit.
