WordPress CI/CD: Continuous Integration and Deployment for WordPress
Continuous integration and continuous deployment (CI/CD) in WordPress is a two-process method that applies automation to software development.
Continuous integration automates the new code integration into a WordPress application project. Meanwhile, continuous development lets you automatically deploy the latest integrated code.
Many WordPress developers use CI/CD to streamline their entire workflow. If you want to do the same with your WordPress project, you’ve come to the right place. Keep reading as we explore the benefits of WordPress CI/CD and how to use it.
Download all in one WordPress cheat sheet
What is CI/CD?
In WordPress, CI/CD is an automation method for streamlining code integration, delivery, and deployment processes. You can trigger CI/CD processes to build, test, and deploy code using a deployment tool like Branch.
Why Use Continuous Integration and Deployment in WordPress
In the WordPress ecosystem, many web developers and agencies use different applications and tools to implement continuous integration and deployment methods into their projects.
Here are the top benefits WordPress developers can get from using CI/CD workflow.
Workflow Automation
Usually, a WordPress workflow starts with deploying code to a development environment for testing. If the code passes all the tests against the WordPress coding standards, the next step is to commit the code to the repository and deploy it to the live production environment.
With the CI/CD pipeline, you can automate these processes when running the Git push. As a result, you can save money and time to focus on developing other parts of your WordPress project.
Notice Bugs Early
All code changes in any application must go through the WordPress unit tests. Automating the testing stage on staging sites allows you to catch and fix bugs for regular quality assurance.
This way, completing your WordPress projects on time and to the highest standards is easier.
Efficient Feedback
Running an automated test suite gives your development team better insights into the build’s quality. The ability to release features more frequently creates a constant feedback loop with the whole team and your clients.

How to Start Using WordPress CI/CD
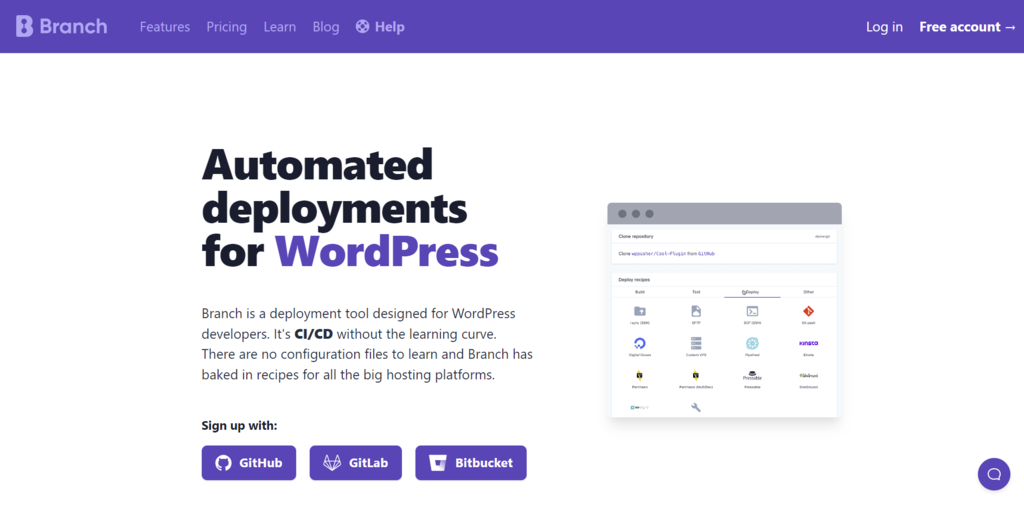
There are multiple CI/CD tools designed to automate your app development workflow. The following section shows you how to set up a CI/CD pipeline using Branch, an integration and deployment tool for WordPress projects.
1. Sign Up for Branch
Before starting a WordPress development process, you need to deploy a Git repository first. There, you will have a development environment with a version control system to build features, fix bugs, and track changes without affecting the main development process.
In Git, the concept of creating branches from a master branch to develop and test different features is known as Git branching.
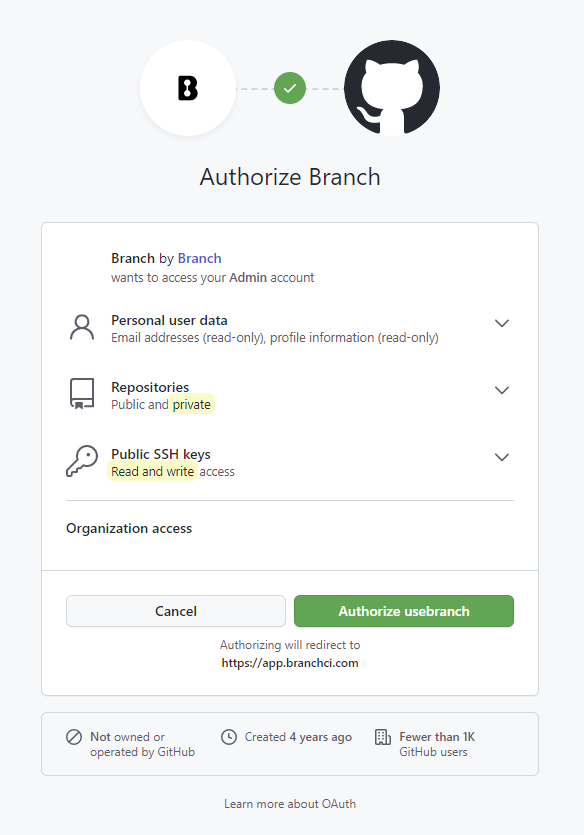
Signing up to Branch requires a GitHub, Bitbucket, or GitLab account. For this tutorial, we’ll use GitHub.
Suggested Reading
Check out our tutorial on the two most popular Git repository services in the WordPress community ‒ Bitbucket vs GitHub ‒ based on their ease of use, features, data storage, and third-party integrations.
With the Branch’s free tier, you can have up to 20 free builds and deployments per month.
After choosing a Git repository hosting service, authorize Branch to access your WordPress hosting platform using an SSH key.
2. Set Up Your CI/CD Workflow
Now that you have a Branch account to work on, it’s time to set up a CI/CD pipeline. To do so, follow the steps below:
- Create a new project on Branch. Since this will be the first branch you create, make sure to set the value of the Branch source dropdown to the Main.
- Connect Branch to another Git repository. Clone the repository using an SSH key and add a webhook to it. Note that this step is optional.
- Connect Branch to your WordPress hosting account. Hostinger users can add the Branch SSH key to their hosting account by navigating to Advanced → Git from hPanel.
- Add build steps. You can either create a custom build step or pick one of the pre-made ones for automating common build tasks, such as performing unit testing.
- Run your build. Code the trigger into the WordPress project’s configuration file to do it manually or have Branch automatically trigger the build after every commit.
Pro Tip
GitHub offers a feature to create CI/CD workflows called GitHub Actions. A YAML file containing YAML syntaxes defines each workflow automatically triggered after each code push.
Conclusion
The CI/CD pipeline has been a necessity in many software development projects for good reasons. It automates code integration and deployment into an existing project, streamlining the entire workflow without depending on the person responsible for deploying the code.
We have gone through the benefits of using a CI/CD pipeline and how to implement it into your WordPress project using Branch. If you still have questions, check out our answers to the most frequently asked questions about WordPress CI/CD.
WordPress CI/CD FAQ
If you cannot find an answer to your question here, don’t hesitate to leave a comment below.
Does CI/CD Support WP-CLI?
Yes. WP-CLI supports continuous integration services for WordPress deployment through the scaffold command. Some automation tasks include performing a WordPress installation and conducting tests for themes and plugins.
Is Bitbucket a CI/CD Tool?
Yes. Bitbucket offers a CI/CD service called Bitbucket Pipelines. As mentioned earlier, Bitbucket is one of the three most popular Git repositories supporting Branch integration.

Jordana is a Senior Content Writer with over 5 years of experience in digital marketing and web development. When she’s not busy with work, she dabbles in creative writing and movie reviewing. Follow her on LinkedIn.
