How to Use PuTTy to Generate SSH Key Pairs for Site Security

SSH keys are one of the most secure SSH authentication options. It is definitely more secure than the usual SSH password authentication. Therefore, it is highly recommended to use SSH Key authentication method for connections to your servers.
With password authentication, you can connect to your server from any location, you only need to fill in your password. However, if your password gets leaked, it is a major risk as anyone who knows your password will be able to get into the server.
SSH Key authentication only allows connections from clients whose key matches the one on the server. Basically, you generate a key pair (private key and public key). The private key is placed on your local machine and the public key is uploaded to the server. When connecting to the server, a validation of these two keys is made and if the key pair passes the validation you are allowed to connect. Of course, you can upload keys of multiple users so that you or other authorized users would be able to connect to the server from different computers.
As you can see this is a much safer connection method. In this tutorial, we will focus on Windows users who use PuTTY for connections to the server and show how to generate PuTTY SSH Keys. If you want to generate SSH Keys on Linux or Mac, see this tutorial.
Download ultimate SSH commands cheat sheet
What you’ll need
Before you begin this guide you’ll need the following:
- Access to your Linux server / VPS
- PuTTY and PuTTYgen installed on your computer (Download here)
Step 1 — Downloading PuTTYgen
Most of you have PuTTY installed on your computers already, however, to generate SSH Keys you also will need PuTTYgen.
1. Download PuTTYgen from the official website.
2. You should be able to see this file downloaded:
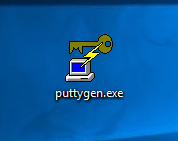
No installation is required for PuTTYgen. It will run when you execute the file.
Step 2 — Generating your SSH Key pair
1. Open up PuTTYgen by double-clicking on the puttygen.exe file you have downloaded in Step 1. You should be able to see a window like this:
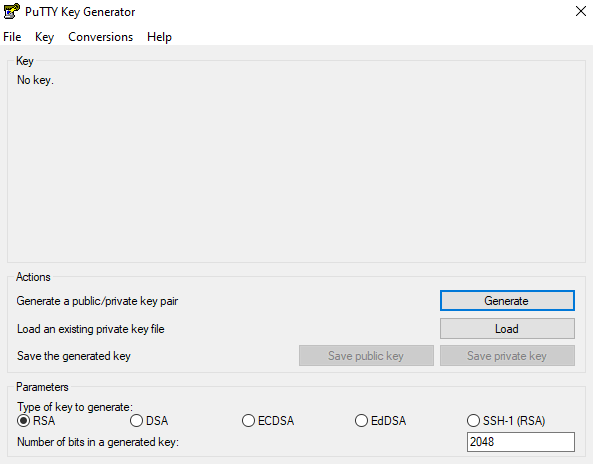
2. Before generating your SSH Key pair, you can edit some settings, for example, key length. However, in most cases, the default options will work just fine.
3. Generate your SSH Key pair by clicking the Generate button.
4. When the progress bar starts loading, move your mouse randomly across the area to load up the bar and generate your key pair.

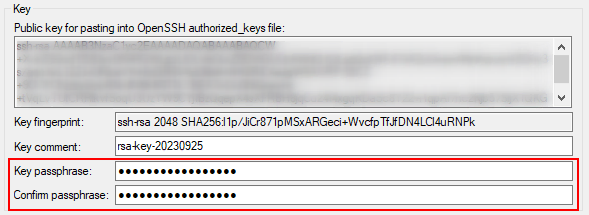
5. Your public SSH key will be displayed on the screen:
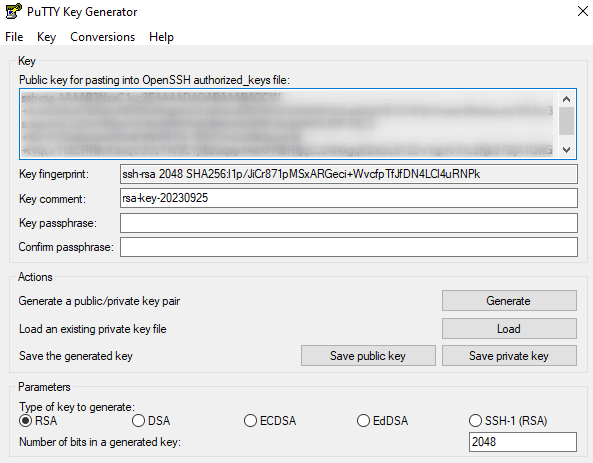
If you are going to use the key for a Linux-based VPS, make sure to copy the OpenSSH public key somewhere now since Linux systems don’t support the default Putty format.
6. For additional security, it is highly recommended to think of a passphrase for your SSH key (However, you can also leave it empty):
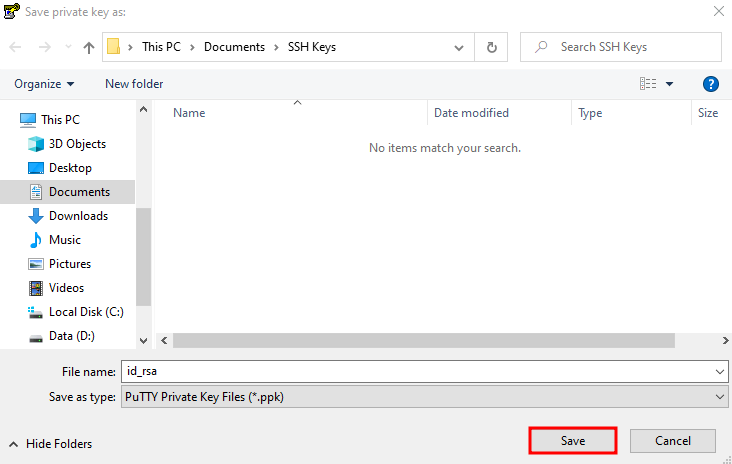
7. Save your private key to any desired location on your computer and name it anything you like.

8. Save your public key to the same location on your computer and name it anything you like.
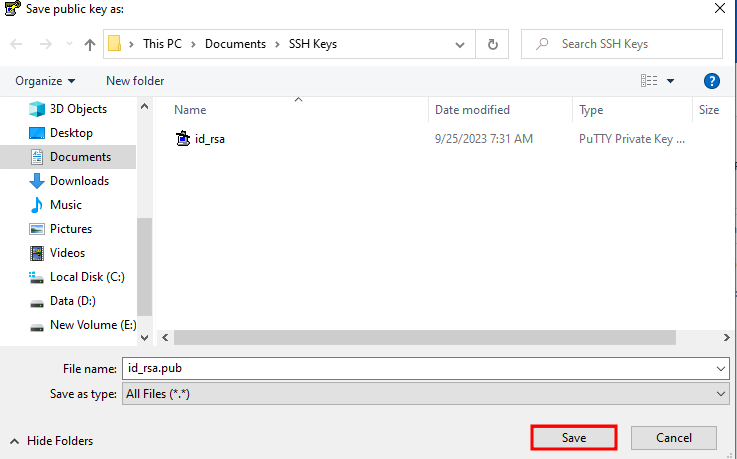
And that is it, you have generated your SSH Key pair. The private key will stay on your computer (do not provide it to anyone), while your public key needs to be uploaded to the server you wish to connect to.
Step 3 — Setting up your private key on PuTTY
In order for the server to recognize your computer when connecting from PuTTY, you need to attach the private key to PuTTY.
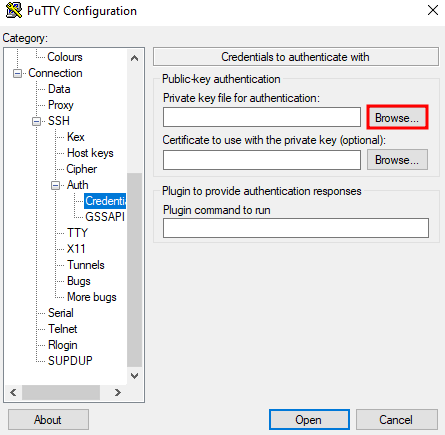
1. Open up PuTTY and navigate to Connection → SSH → Auth → Credentials in the left sidebar.
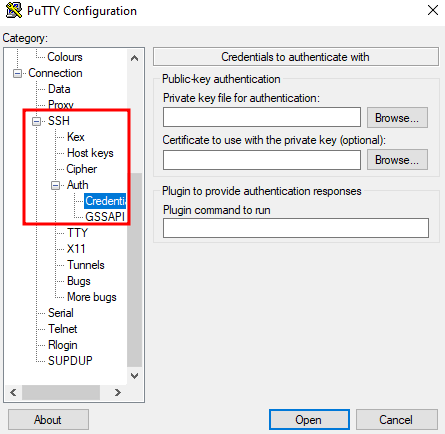
2. Browse for your private key file in the field Private key for authentication.
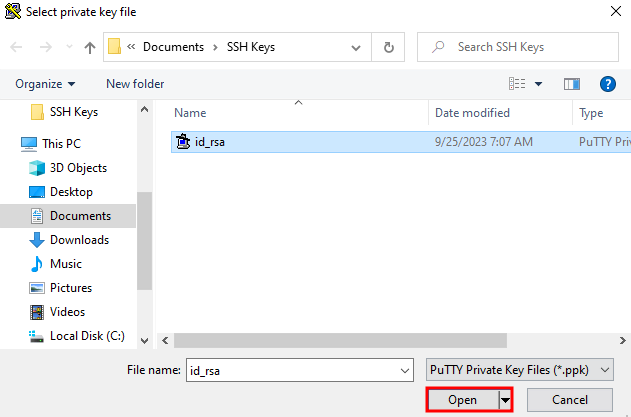
3. Select the private key file with .ppk ending and click Open.
Step 4 – Adding public key to server
Lastly, you need to upload your public key to the server. There are two methods for that:
Method 1 – Using hPanel
The easiest method to upload your public key is via hPanel.
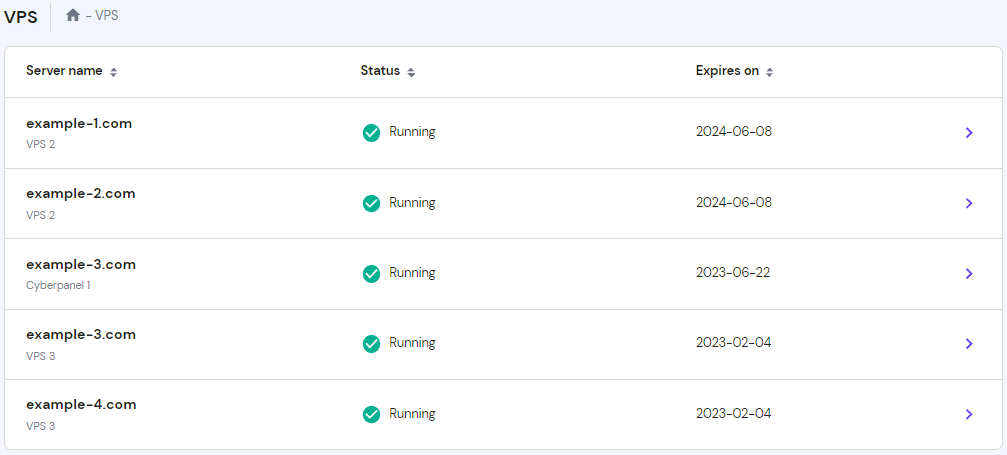
1. Start by selecting your server:
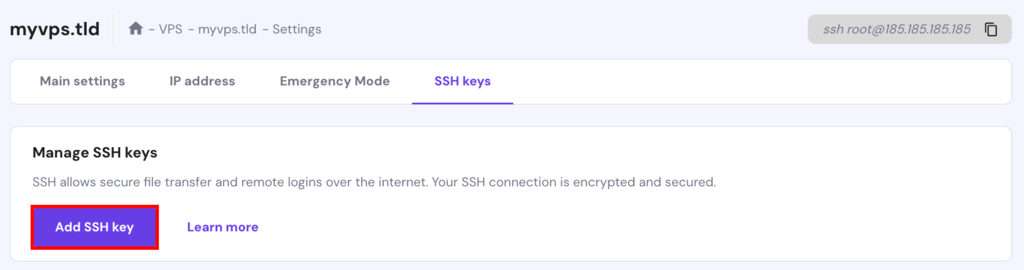
2. Then, navigate to the Settings → SSH keys page and click on the Add SSH key button:
3. Fill in the details and paste the OpenSSH key you’ve copied earlier from the main PuTTYgen window:
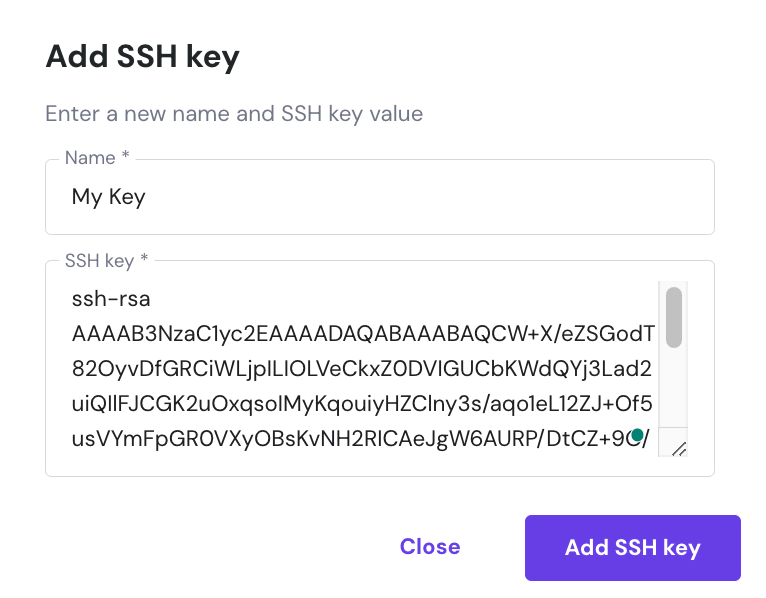
4. Lastly, hit the Add SSH key button.
Method 2 – Manually
- On your local computer, open public key file (id_rsa.pub) you generated in Step 2 with any text editor and copy its contents (public key).
- Connect to your VPS using Putty. See this guide for detailed steps.
- If .ssh folder does not exist, create it together with authorized_keys file with the following command:
mkdir ~/.ssh | touch ~/.ssh/authorized_keys - Secure SSH Key file by changing permissions:
chmod 0700 ~/.ssh; chmod 0644 ~/.ssh/authorized_keys - Open authorized_keys file with vim text editor:
vim ~/.ssh/authorized_keys - Press i key on your keyboard and right mouse button to paste the public key.
- Press Esc button and type in
:x, hit Enter button. This command will save changes made to the file.
That is it, you can now use SSH keys instead of SSH password authentication to connect to your VPS.

Conclusion
You have learned how to generate PuTTY SSH Keys using PuTTYgen. This will make your connection to the server a lot more secure and convenient as you will not need to fill in the password each time. We recommend using this way of SSH authentication at all times and disable password authentication for good to completely secure your server.
To find out how to completely disable SSH Password authentication on your server and use SSH Key authentication instead, follow this tutorial: How to disable SSH Password authentication on VPS.
Suggested Reading
Read our article to learn how to set up SSH keys and manage them effectively.

Linas started as a customer success agent and is now a full-stack web developer and Technical Team Lead at Hostinger. He is passionate about presenting people with top-notch technical solutions, but as much as he enjoys coding, he secretly dreams of becoming a rock star.